Halloween offers the chance to use your crafting skills to decorate, but it’s important to find projects that will fit your space. The craft should also be appropriate for your time and budget. Try this Halloween centerpiece that you can complete in just 10 easy steps!
1. Choose a style
Your decorations for Halloween should be a reflection of your tastes. Decide what theme you are planning before beginning the DIY project. Maybe you want spooktacular decor that is inspired by a scary movie, or perhaps you’d prefer something to match your fall arrangements. Based on what you decide, make a list of the necessary materials.
2. Buy materials
Go to your favorite craft store or order the materials online. Make sure you have the necessary tools for the project. Since you want your display to last as long as possible, buy the fresh-cut flowers on the same day you plan to assemble everything. Remember that the size of the pumpkin will influence the number of flowers you’ll need to buy to fill the space.
3. Cut the pumpkin
Once you’ve gathered all of the materials, it’s time to begin. Use a knife to create a hole at the top of the pumpkin. Remove the stem and trim the opening to be large enough to fit the foam inside. Try not to cut it too wide, because you want the orange squash to retain its iconic round shape.
Always follow proper safety methods—keep your fingers out of the knife’s way!
4. Scrape out the seeds
SOURCE: PEXELS
Using a spoon, scoop the seeds out of the inside. Set them off to the side to use later. Make sure the interior is empty before beginning the next step.
5. Cover the interior
Line the inside using foil or plastic wrap. Allow an inch to protrude out of the top, and trim away any excess. Place the floral foam into the pumpkin and shape it to fit the space. Once you’ve determined the correct size, you can remove the foam.
6. Soak the floral foam
Submerge the floral foam in a bowl of water. Allow it to soak up the liquid before placing it back inside the pumpkin. The water will help to keep your blooms fresh.
7. Add flowers
SOURCE: PEXELS
It’s the moment you’ve been waiting for—flower time! Trim your flower stems to extend about 4.5 inches out of the top of the pumpkin. They should be at least halfway into the foam to ensure support. Mix the blooms to create a well-balanced display.
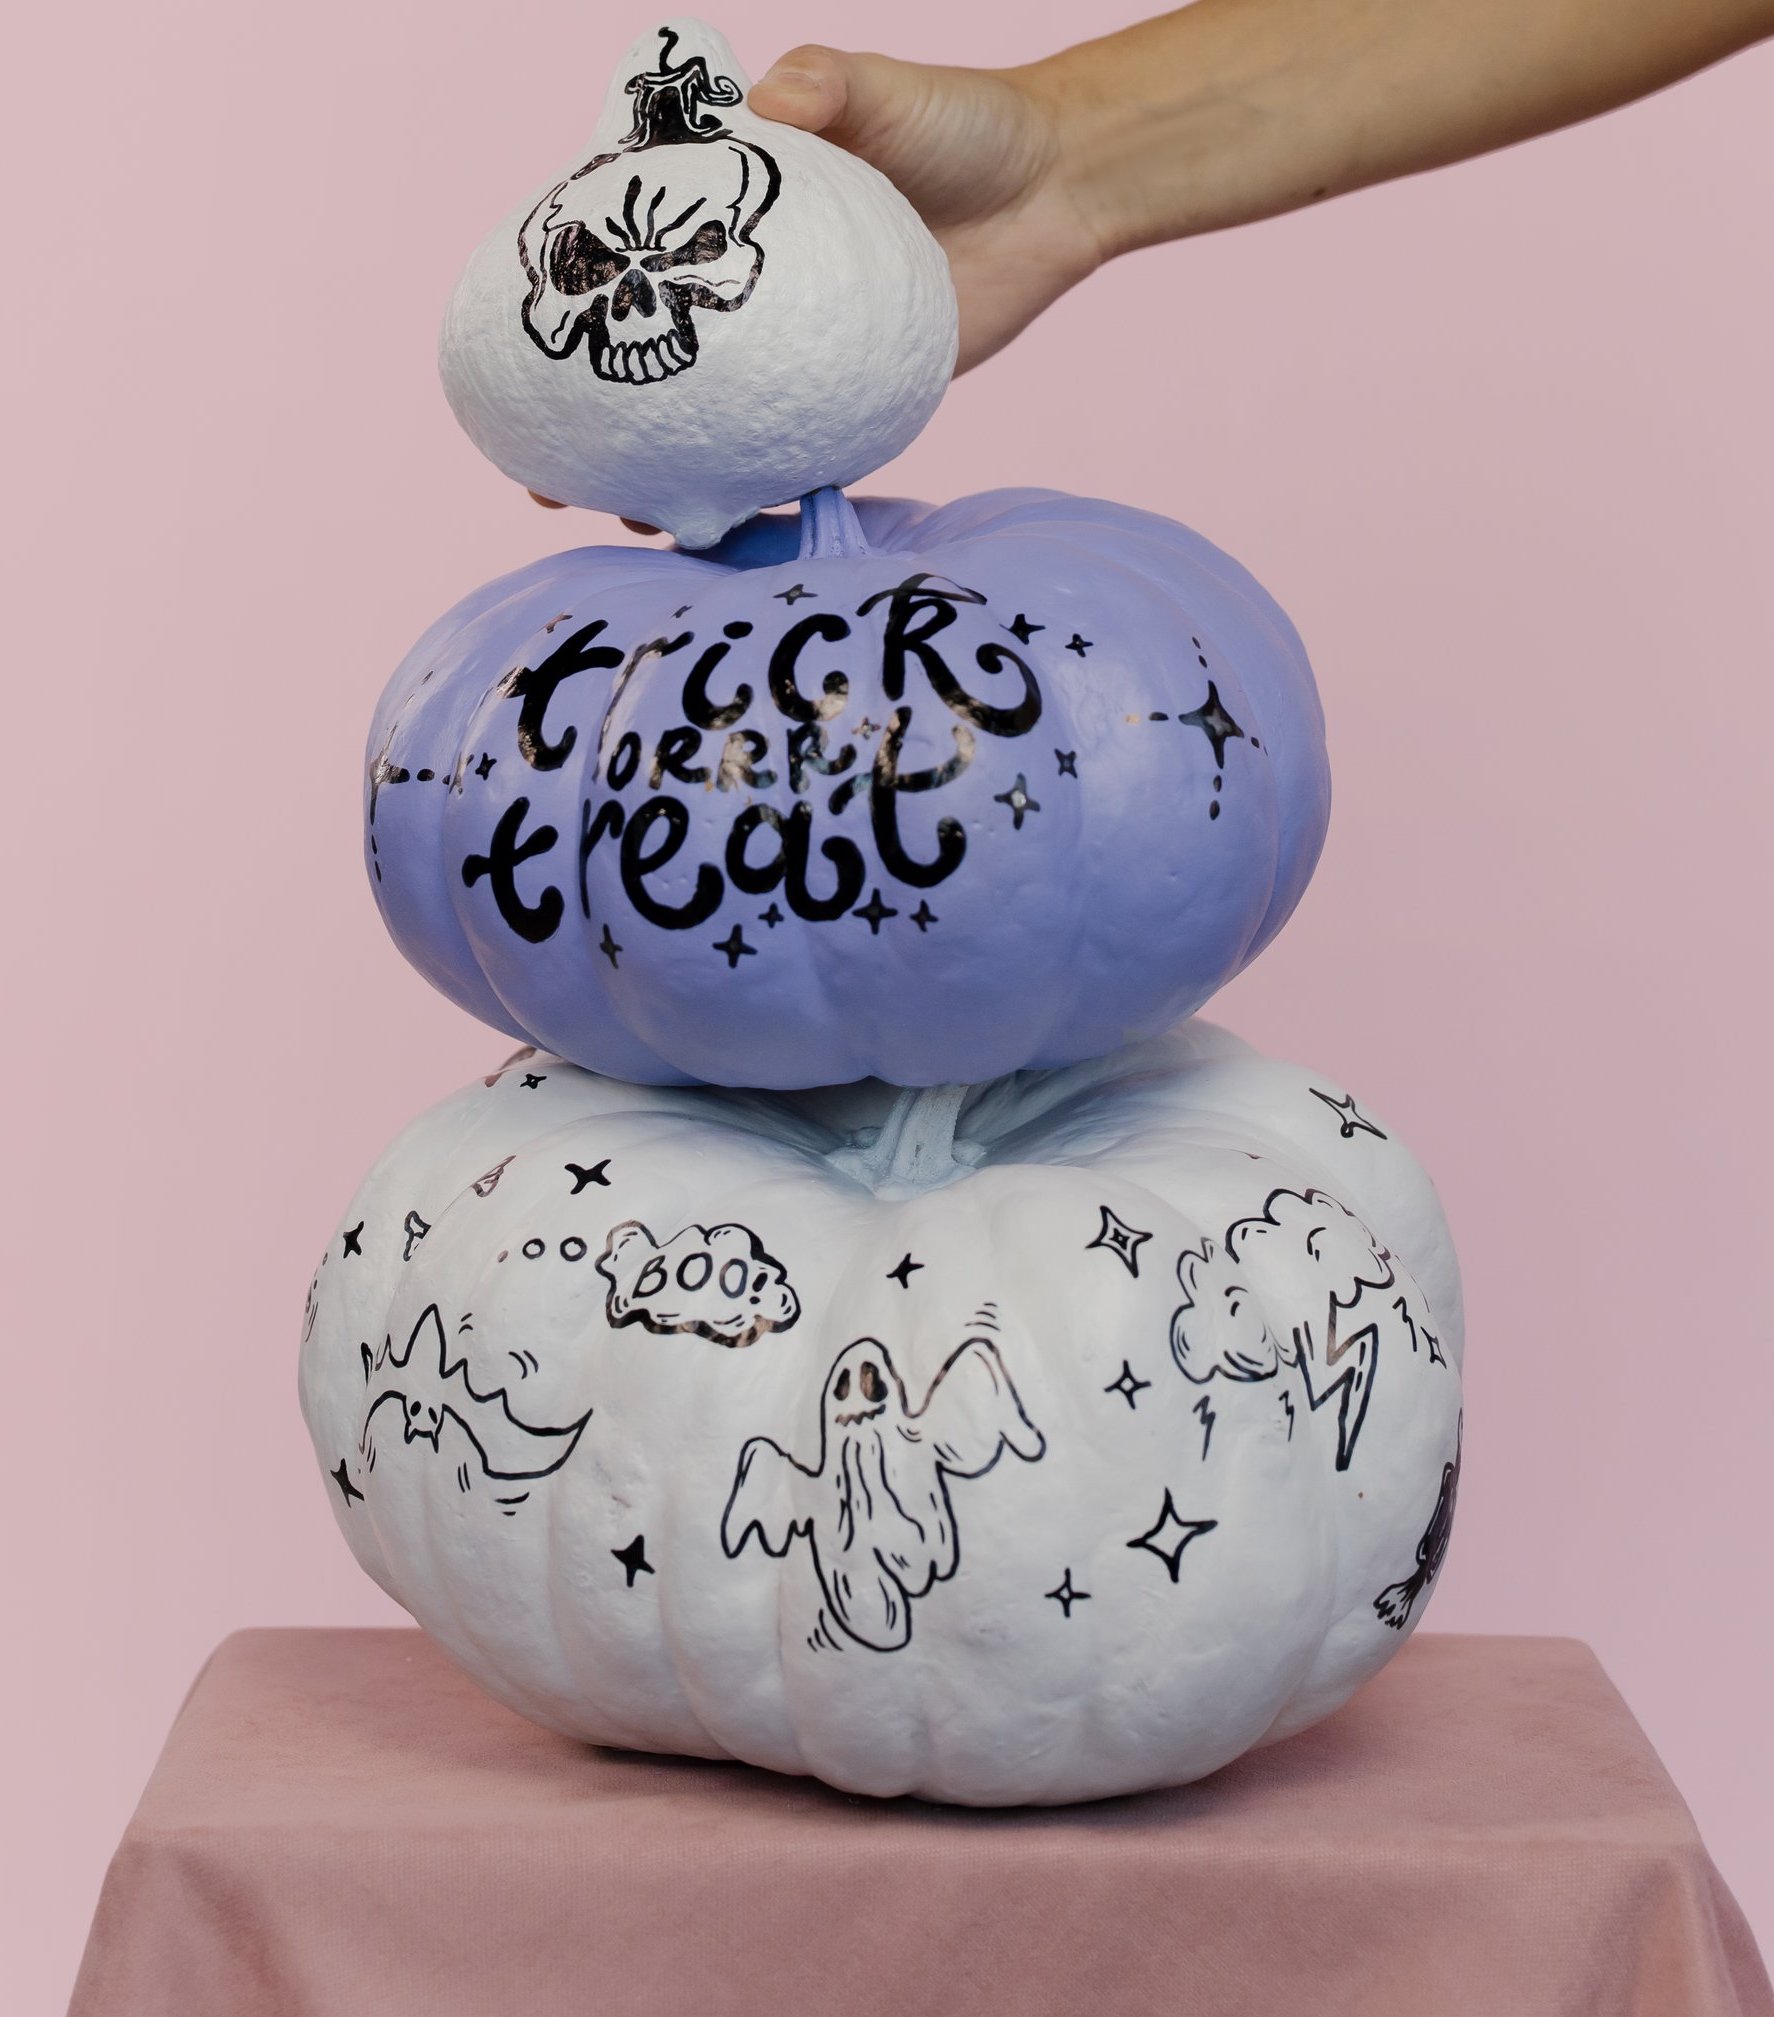
8. Create a personal touch
Consider if there are any personal embellishments you would like to add. You could paint a face or pattern or even add glitter. This step is optional, but it can be used to jazz up the pumpkin itself.
9. Style with your decor
With the display complete, it’s time to decide where to place it. This decoration could be used as a centerpiece or accent to complement other items on display.
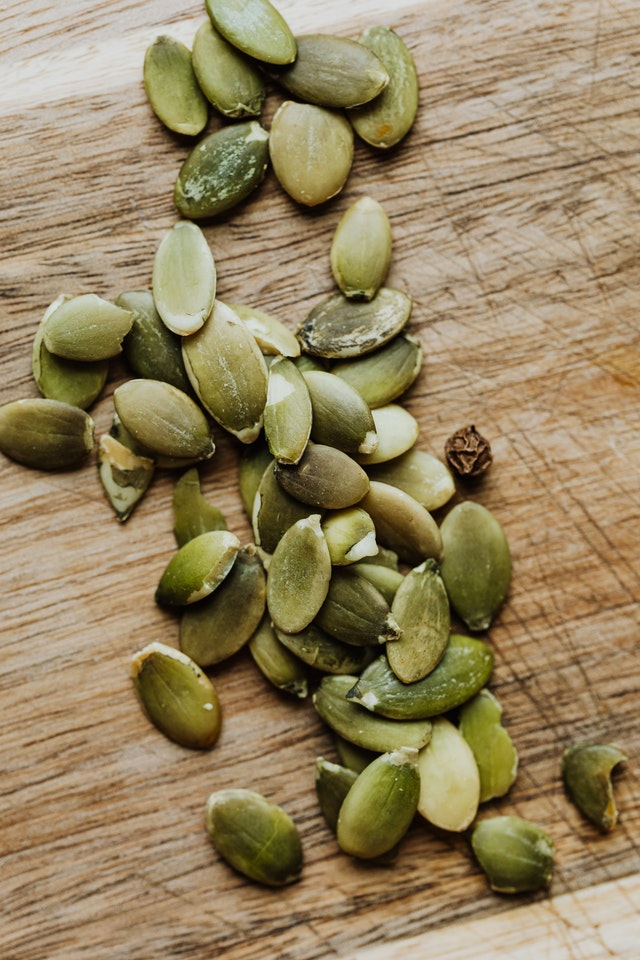
10. Enjoy the pumpkin seeds
Pumpkin seeds are edible, so you can use them in fall recipes or a separate DIY project like homemade maracas, or just enjoy feeding them to the birds.
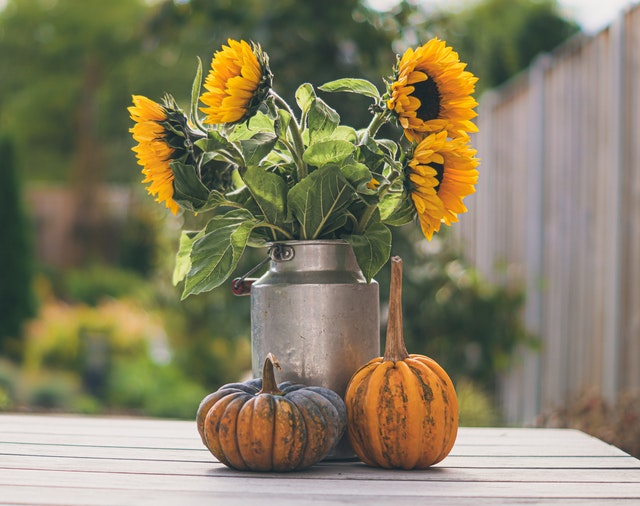
Squash the decor game
SOURCE: PEXELS
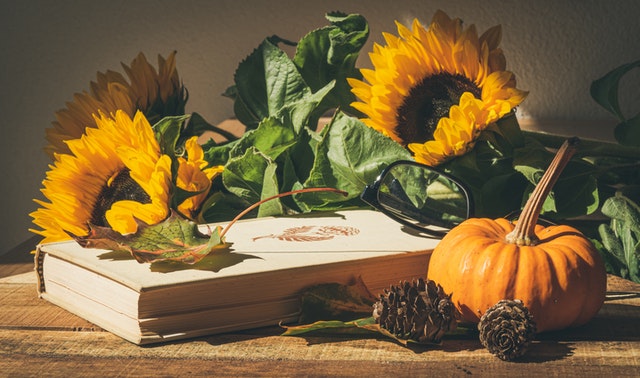
Your pumpkin centerpiece is sure to steal the show! Enjoy this 10-step DIY-beauty that you’ll want to complete every Halloween season.
AUTHOR: KACEY BRADLEY
Kacey Bradley is the blogger behind The Drifter Collective, an eclectic lifestyle blog that expresses various forms of style through the influence of culture and the world around us. Along with writing for her blog, she has written for sites like U.S. News, SUCCESS, Guides for Brides, Hotel Online and more!
Follow Kacey on Twitter and subscribe to her blog to keep up with her travels and inspiring posts!