Summer is here, and it’s hot. People are reveling in the sun. It’s the season for hosting barbecues with friends, trying (sometimes in vain) to stay out of the heat, and getting out of town as much as possible to relax, hike, or play in some kind of body of water.
Unfortunately, that also means it’s the end of ski season. And though it’s been awhile since anyone got some really decent snow, it’s never too late to give your skis some TLC and store them the right way in preparation for their off-season retirement.
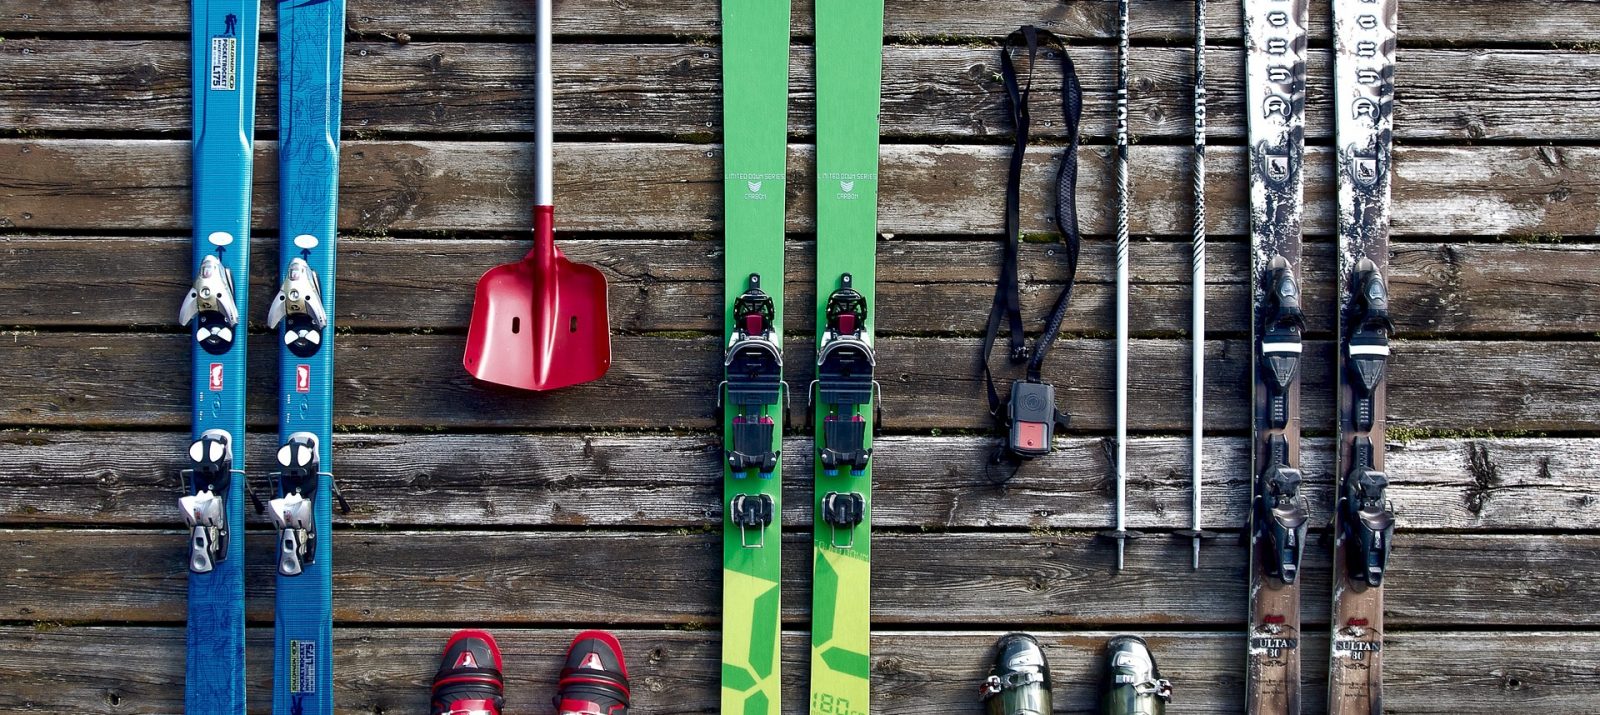
Whether you’re storing your skis (and your gear!) in your garage, in your home, or in MakeSpace, follow these six simple steps to make sure they’re ready to go once the first snow hits.
1. Inventory your ski gear.

After a full season of hitting the slopes, your gear has likely taken a beating. And depending on how old it is, you may or may not need to replace some things.
Take it from us: It’s much better to see what needs repairing or replacing now versus when winter starts to come around. Get ahead of the crowds that are bound to be bombarding ski shops once the snow hits.
That ski jacket you’ve had for years that has long lost its weatherproof coating? Replace it.
Got a pair of ski goggles that are doing more harm than good to your visibility? Find some new ones.
Not confident enough or too busy to tune your own skis? Take them to your local ski shop.
Being proactive about inventorying your gear now means that when the time is right and that first perfect snow comes in, you’ll be at the slopes while everyone else is waiting around at the shops.
2. Tune up your skis.
After a long season of skiing, your skis are going to need a little love.
The folks over at REI have some expert advice on making sure your skis are living their best lives.
They break it down into these three steps:
1. Base repair
The main things to look for are nicks, burrs, and rust spots, all of which will damage your skis if left alone. If your skis have large scrapes, get them fixed at a ski shop.
If your skis have small nicks on their bases, you can easily fix them at home. Here’s a tutorial by REI that shows you how:
You’re essentially scraping away any excess material around the gouge, filling it in with a P-Tex candle, and then scraping away the excess.
2. Edge work
After that’s done, it’s important to sharpen the edges of your skis so that you can decrease drag and ensure that your skis are as fast and smooth as possible.
Use a diamond stone to work on burrs, and a gummy stone to polish the edges all over.
And here’s another handy video tutorial to show you just how to do it:
3. Waxing
Once you’ve sealed up gouges in the bases of your skis and cleaned the edges of any burrs, nicks, or rust, you’re ready to wax them.
The first order of business is to scrape off any residual wax. This gives you a clean base for your summer coat.
Next, use a specially made wax iron to heat up your summer wax, and dribble it over the bottom of your skis from tip to tail.
Then smooth the iron over the waxy skis, making sure to get an even coat.
Oh, and in case you, like us, can’t get enough visual aides, here’s a tutorial for that part of the tuning process too:
The only difference to note for summer ski storage is that, unlike here, you don’t want to scrape the wax off. Leaving a layer of wax will keep your skis sealed and protected during the summer months.
When ski season rolls around, just remember to scrape off the wax from your skis before hitting the slopes.
And of course, if you don’t feel like tuning your skis at home, your local ski shop should be able to help get your gear back in shape. That way, when November finally comes around and the first few snowflakes of the season hit, you’ll already be prepared to hit the slopes with a pair of beautifully manicured skis.
3. Turn the DIN screws on your ski bindings to their lowest setting.

Once you’ve tuned up your skis, their bindings are your next concern. The bindings on your skis are loaded with heavy-duty springs that keep your boot locked in while still being able to release them at a moment’s notice if necessary. Which means you definitely want these to be in their best working order.
Nate Tomlinson over at Jans gives solid advice:
“In order to ensure that the springs in your bindings stay true to the numerical indicators on your DIN windows,” he says, “it is a good idea to back them out to the lowest setting before storage. To do this, find the DIN screws on both toe and heel pieces – usually located on the front of the toe piece, and the rear of the heel piece – and turn them counterclockwise.”
Remember: When it’s time for you to ski again, turn your DIN screws back to their original settings before you hit the slopes so that you don’t get ejected. Cover the bindings with a note written on a piece of tape so you don’t forget.
4. Strap your skis together, and lay them down on their sides.
The last thing you want is to accidentally warp your new, perfectly-cleaned-and-waxed skis, right?
That’s why you should store them in a place that’s temperature-controlled (like MakeSpace). Not too hot, not too cold, and definitely not too humid. Storing your skis in direct sunlight isn’t a good idea either.
Also, make sure to store your skis in a way that doesn’t compromise their shape, or put any strain on them. Leaning your skis against objects is okay, as is hanging them. But the best in-home option is to just lay your skis on their sides on the ground (much like we all wish we could do in front of an A/C right now).
As long as your skis aren’t strapped together too tightly, and they aren’t left in a position that would warp their bodies, they’ll be perfectly safe.
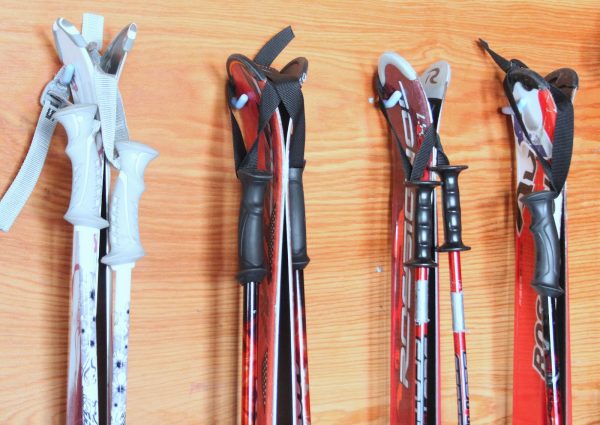
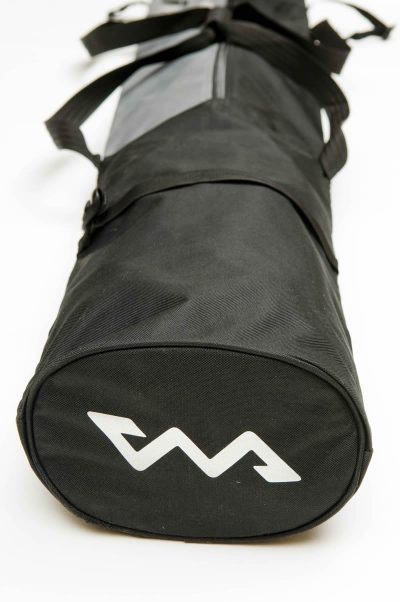
And of course, don’t forget to pack away your poles in a ski pole bag, like this one from Skiweb, which also stores skis:
5. Give your ski gear some TLC too.

Even though your skis are the star of the show and may need a little more TLC than the rest of your gear, your jackets, boots, and goggles need love too.
Check out our tips on how to clean and store your ski and snowboarding gear.
Although the gear used with snowboarding varies slightly from the gear used with skiing, the same principles apply: Clean it, let it dry, and make sure everything goes back in the right place.
Additionally, now is the time to re-waterproof your jackets, deep-clean your boots, and clean your goggles if necessary.
6. No room in your garage or home for your skis and ski gear? MakeSpace.
If you’ve been wracking your brain this whole time trying to think of a space in your home that 1. Doesn’t get too much light, 2. Isn’t too hot or cold, and 3. Is big enough for your skis to lay down on, well, schedule a MakeSpace pickup.
We’ll pick up your skis, all your gear, and any other winter-sport-related items you may have on your hands. We’ll then store everything in our secure and temperature-controlled storage facility. It’s closed to the public and has 24/7 security, motion-sensing cameras, and alarms to ensure the safety of your stuff at all times.
We can also create an online photo catalog of your stuff, so you won’t be left wondering things like if you actually did replace those busted bindings. Or if your new goggles match your ski pants.
The best part? When you need your stuff back from storage, we’ll deliver it to you. This means more slope time and less renting-a-U-Haul-truck-in-literally-freezing-weather time.
Top image via Cloudline
This article was written by Hannah Van Arsdale, a freelance writer and dog person based in Portland, OR.