Hiking and camping can be in tents, but rewarding. You get plenty of fresh air, a break from stressful city living, and you stay in excellent shape.
But there is one major downside: managing all the gear.
Boots, backpacks, tents, and sleeping bags have a way of eating up all the extra space in your place. Luckily, there’s a smarter way to store your hiking and camping gear
We harnessed the power of trail associations, magazines, YouTube tutorials, and even The Mountaineers. All so we could create this expert guide on how to pack, clean, and store your camping and hiking gear.
Follow the advice, and you’ll have nothing but happy trails and serene, starry nights in the wilderness from here on out.
Click any of the links below to jump to a specific section:
How To Pack For Camping
How To Clean Your Camping Gear
How To Store Your Camping Gear
How To Pack For Hiking
How To Clean Your Hiking Gear
How To Store Your Hiking Gear
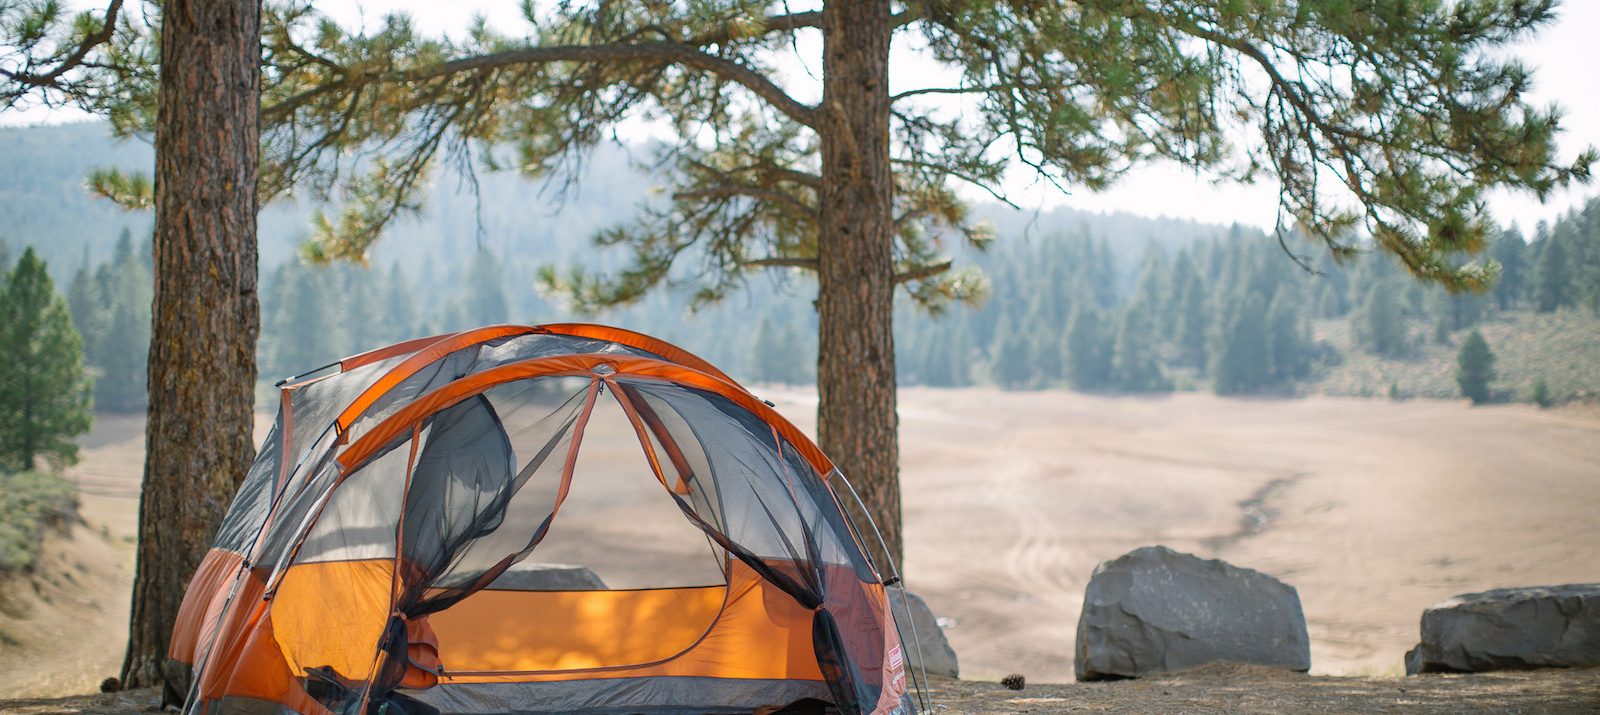
How To Pack For Camping
1. Invest in a rooftop car carrier
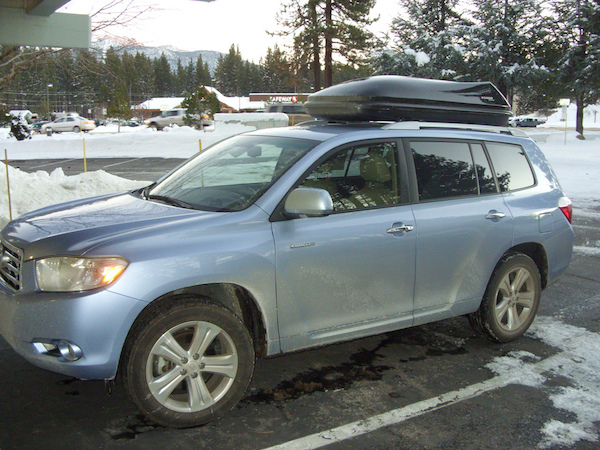
Depending on your particular brand of camping, you might have more stuff than your car can feasibly contain. That’s what rooftop car carriers were made for.
You can find all kinds of options at outdoor gear stores like REI or more general stores like Walmart and Sears.
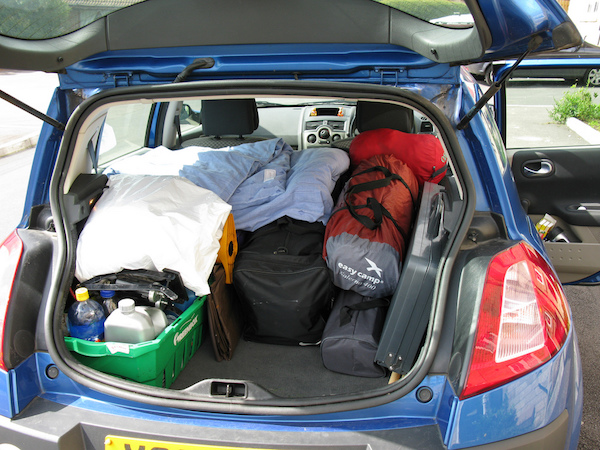
2. Or some cargo nets
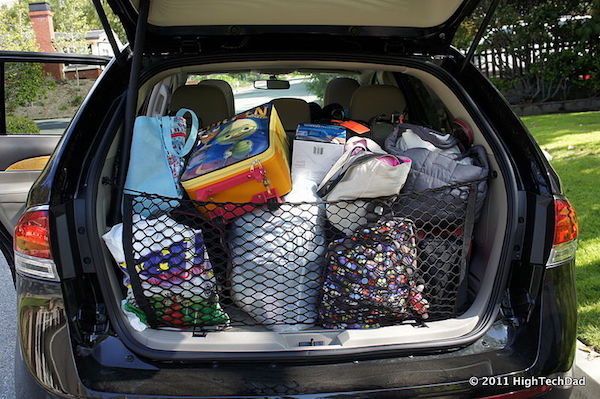
You may not need a whole extra storage appendage, but you do need to keep all that gear in your trunk in place. Some strategically placed cargo nets can do just that. And they’ll save you the agony of cleaning up your spilled cooler at the first rest stop.
3. Follow a camping checklist
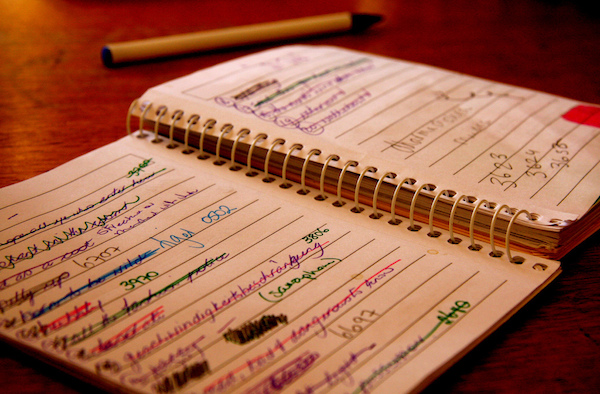
Before you place anything in your car, run down a camping checklist. Do you have the items below?
- Tent
- Sleeping bags
- Water filter
- Flashlight
- Windbreaker
- First aid kit
It’s easy to forget seemingly small but actually important items. Make a comprehensive list and pull out everything on it before you start playing storage Tetris in your trunk.
If you need some help, Real Simple has an interactive camping packing checklist. You can also watch Howcast’s three-minute-long video on how to pack all your camping gear:
4. Throw some frozen water bottles in your cooler
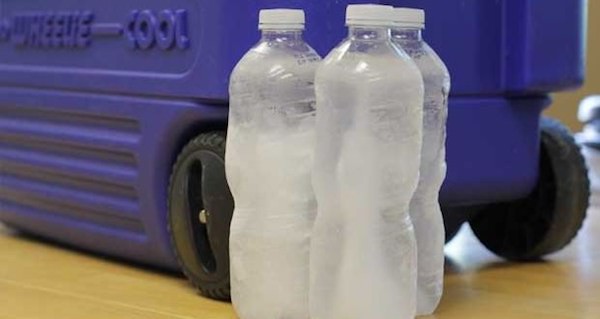
Even if you pride yourself on your ability to rough it in the woods, you probably brought along some food and beverages to supplement all those wild berries you foraged.
Here’s an ingenious hack to keep those items cold:
Place a few frozen bottles of water alongside them in the cooler.
The bottles will function as DIY freeze packs. When they melt, you’ll get some bonus filtered water to drink.
5. Pack the tent last
The logistics of packing your trunk for a camping trip are more involved than they seem. If there’s something you need to unpack first, then it should be the last thing you place in the car. The tent (or tarp) definitely fits that bill, so set it aside until everything else is safely stowed.
How To Clean Your Camping Gear
1. Throw your sleeping bags in the washing machine
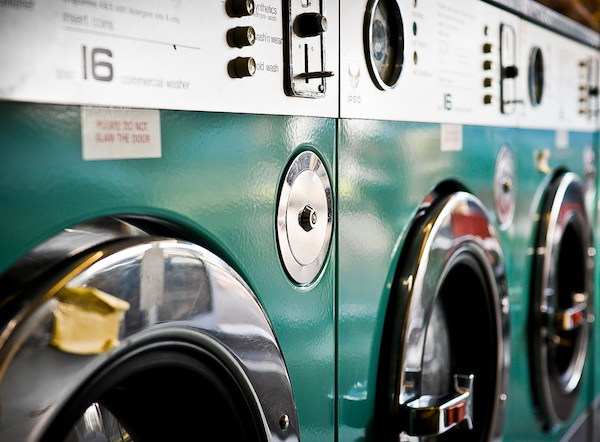
Even if your sleeping bag looks relatively clean, it’s probably picked up some sweat and stenches from your weekend trip. Give it a fresh clean by simply putting it in the washing machine.
Check the bag’s label to be sure, but if it’s a front-loading washer, you should be fine. You can even dry your sleeping bag in a front-loading dryer on low heat. Just throw a few tennis balls in with your sleeping bag to avoid clumping.
2. Let your tent air out before you put it away
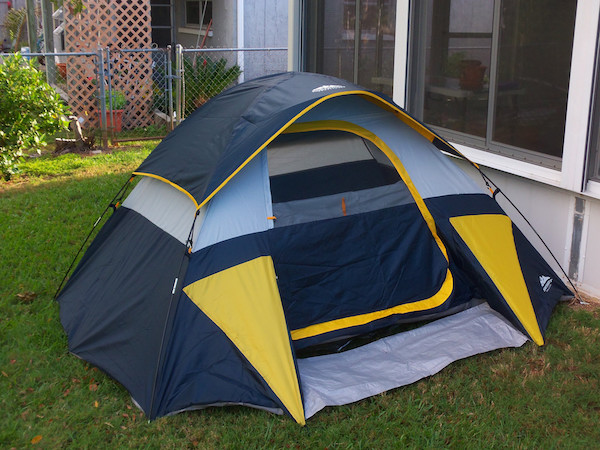
One of the biggest concerns when it comes to tent storage is mildew. If you put away a tent that’s not completely dry, you’re bound to get that nasty fungus.
To avoid it, set up your tent outside after your camping trip and let it fully dry out. Brush off any dirt or sand from the fabric, stakes, and poles. Now it’s ready for mold-free storage.
3. Thoroughly wash your utensils, dishes, and pots
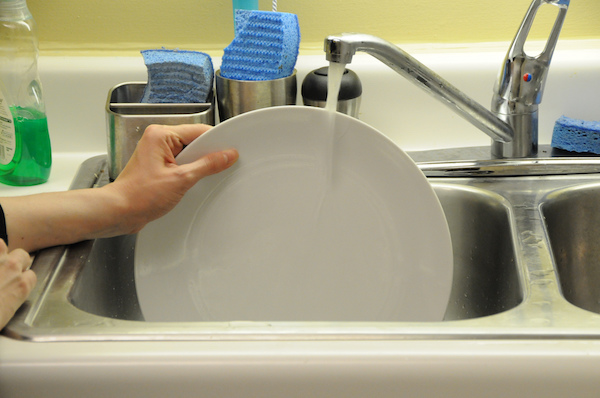
You might have rinsed your pots, forks, and spoons out on the campgrounds. But once you’re back home, give everything a good clean with dish detergent or a spin in the dishwasher.
Sloppily cleaned cutlery is a breeding ground for bacteria, and you don’t want to get indigestion on your next weekend in the wild.
4. Carefully clean your portable stove
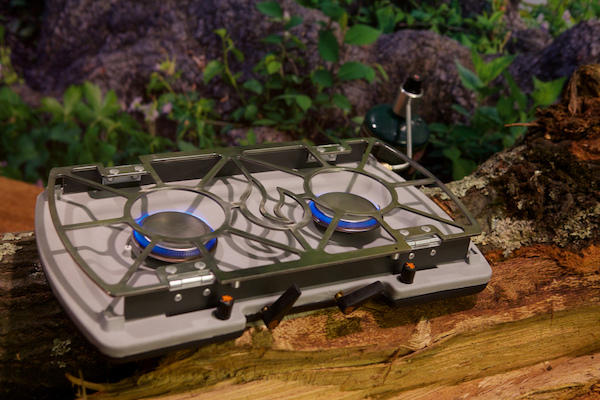
Before you clean anything on your camping stove, remove the fuel.
Once that’s safely tucked away, wipe off any crumbs or soot from the stove’s exterior. Then consult your stove’s instruction manual for further advice on how to properly clean the rest of the appliance.
How To Store Your Camping Gear
1. Categorize your gear by use
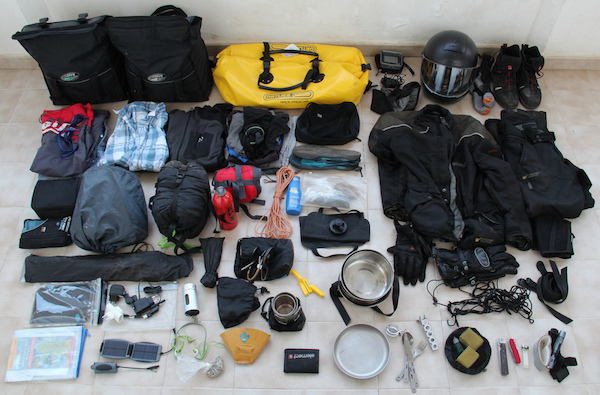
Camping requires a lot of stuff that comes in different shapes, sizes, and degrees of flammability. The easiest way to organize all your camping cargo is to break things down by their function.
As the American Hiking Society explains, you can cluster sleeping bags and tents into a “shelter” group, stoves and utensils into a “cooking” group, and sleeping pads and stakes into a “ground” group.
2. Then load it into crates or bins
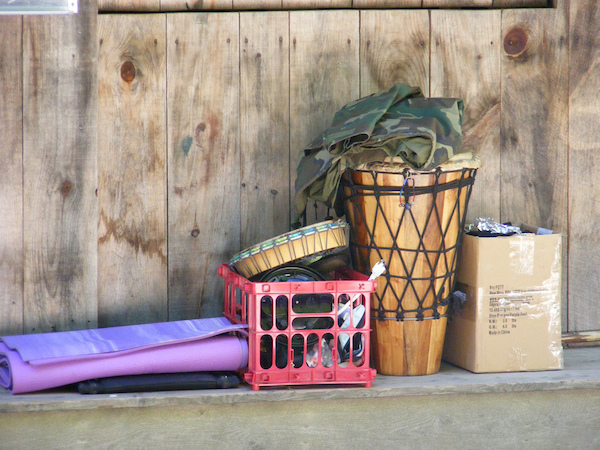
Now that you’ve got neat piles of everything, pack them into corresponding crates or bins. And make sure to label each one with the correct group name, so you know exactly what’s in each container.
3. Slide it onto shelves
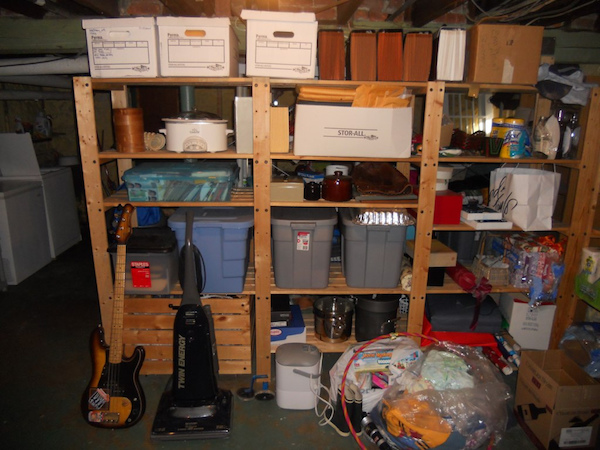
If you’d rather not drop the cash on all those crates, you could line your grouped items up on a rack system or even spare shelves in your apartment building’s basement.
And depending on how hot or damp it gets in the basement (or how many mice hang out there), you may want to move your stuff inside your home to a closet or hidden storage area.
4. Roll your tent up, don’t fold it

Folding your tent repeatedly can tear the fabric or damage the waterproof coating. Instead, roll your collapsed, clean tent into a sack and store it somewhere where the UV rays won’t hit it. Those can also inflict some harm, so keep your tent away from windows.
5. Hang sleeping bags in closets

Although rolling up your sleeping bag seems like the simplest, most sane solution, the “gear guy” at Boys’ Life magazine cautions against it. Stuffing a sleeping bag into a sack long-term messes with the insulation. If you have a spare hanger in the back of your closet, hang your sleeping bag up next to all your clothes.
6. Lie them flat under your bed

Boys’ Life says you can also slip your rolled-out sleeping bag under your bed, as an alternative for people with cramped closets.
Best way to store camping gear: MakeSpace
Packing away camping gear in the off season can make your home cramped and make you dream of escaping to the great outdoors. It doesn’t have to be that way, thanks to MakeSpace. Simply schedule a pickup (your first pickup is free!) and we’ll pick up your tents, sleeping bags, and anything else you don’t need in your home right now.
We’ll then transport your stuff to our secure temperature-controlled storage facility and create an online photo catalog of your stuff so you never forget what you have in storage.
When it’s time for your next camping expedition, just log into your MakeSpace account, select the item’s photo, and we’ll deliver it to you.
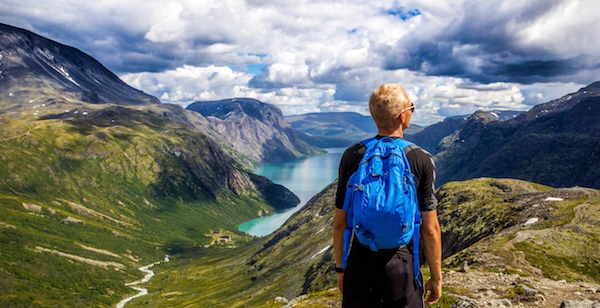
How To Pack For Hiking
1. Organize the things in your backpack by weight
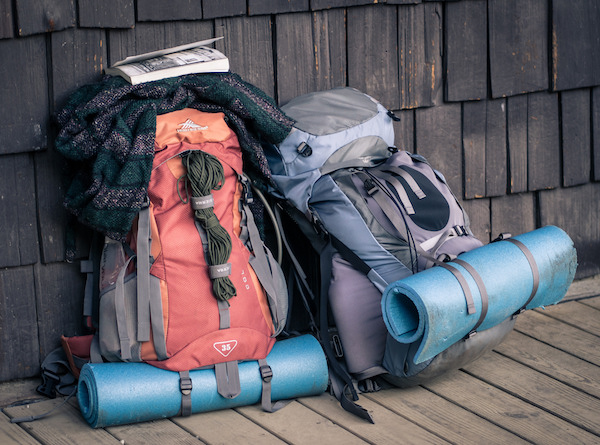
When loading up your backpack for a hike, keep your spine in mind. Keep the heaviest items centered to save yourself a lot of back pain.
Place some lighter items at the bottom of the backpack, followed by the big stuff, and then some more lightweight items. This system will also keep your heavy items cushioned, so they don’t sink or slide wildly.
2. Keep the vital stuff easily accessible
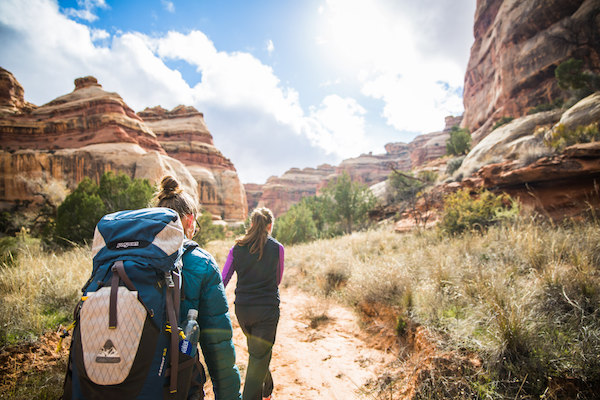
Think about what you’ll be grabbing the most during your hike: Your water bottle and snacks will be the most frequent. Sunscreen is a close second. Sunglasses will be key in the early afternoon. And your phone should be easy to grab in case of emergencies or a sweet landscape photo.
All those things should be stored on the outer pockets, so you can get to them without dumping out your entire backpack.
3. Remember the Ten Essentials
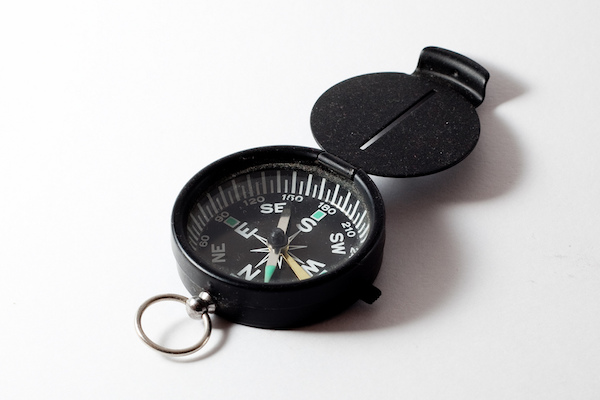
You don’t need to consult a million checklists for hiking because here’s one the pros have been using for decades: the Ten Essentials.
Developed by The Mountaineers in the 1930s, the Ten Essentials list includes the following categories and items:
- Navigation — map and compass
- Sun protection — sunscreen and sunglasses
- Insulation — outerwear
- Illumination — flashlight or headlamp
- First aid supplies — first aid kit
- Fire — waterproof matches, lighter, or starter
- Repair tools — duct tape, safety pins, needle and thread, nylon fabric repair tape, and cordage
- Nutrition — extra food
- Hydration — water
- Emergency shelter — tent or tarp)
Free Bonus: How To Pack For Hiking Like A Minimalist
How To Clean Your Hiking Gear
1. Wash and waterproof your hiking boots
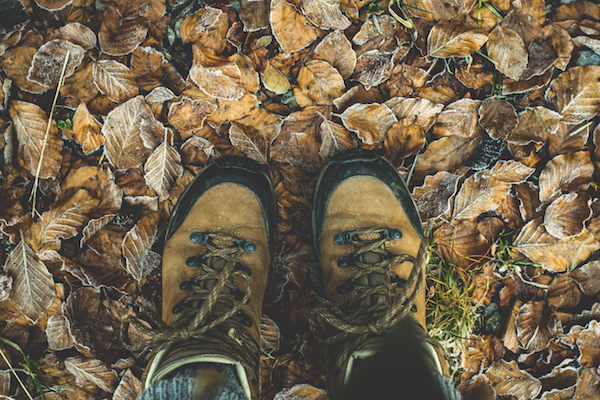
Once you’ve hiked home and removed your boots, let the boots air out and dry. Next, use a stiff shoe brush to remove dirt. If there are tougher stains that won’t come out, apply some warm water (no soap) and brush again.
Now it’s time to assess the smell. Sometimes sprinkling baking soda inside your boots will do the trick. If it doesn’t, remove the insoles and wash them with a mild detergent. After everything has dried, apply a waterproofing treatment to the boots so they’re safe for your next hike.
2. Take old boots to the cobbler

After countless trail treks, even the sturdiest hiking boots will show some wear and tear. Instead of replacing them, consider getting them resoled at a cobbler. This will add years to your boots’ life and save you some cash.
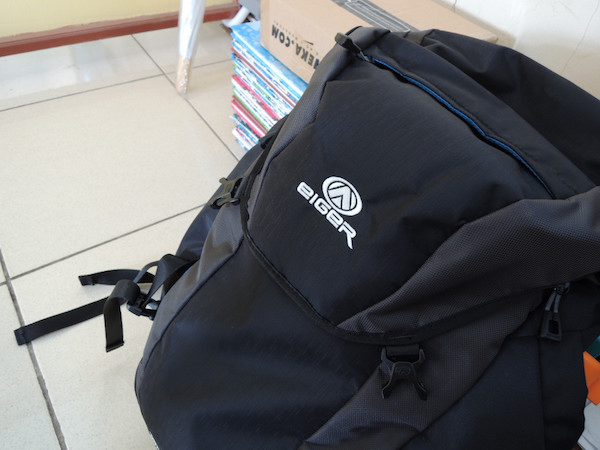
3. Scrub your hiking backpack
Most backpacks can be placed in a washing machine, but double-check the label first. And don’t put it in the dryer.
If your backpack isn’t cleared for machine washing, scrub it with warm, soapy water. Then hang it to dry. And if you’re ready to go the extra mile, take a cue from Backpacker and clean the zippers with a toothbrush before lubing them with silicone grease.
How To Store Your Hiking Gear
1. Keep boots in cool, dry spaces

Most hiking boots contain leather, and you know what doesn’t respond well to heat? Leather.
Too-hot or simply moist areas will cause your boots to crack. Your best storage bet is probably your closet. But since you don’t wear your hiking boots every day, place them in a less prominent spot than the shoes you wear throughout the week.
2. Do the same for backpacks
The backpack you use for hiking probably doesn’t have leather. But cracks aren’t your concern here. Mildew is.
The fabric on your backpack is likely to contract mold if it’s in a spot with variable temperature or tons of moisture, so pick a storage spot accordingly.
3. Shield both your boots and backpacks from the sun
Excessive exposure to sunlight can fade leather boots. It can also fade the colors on your backpack. Keep them both looking new by choosing a UV-free storage space.
Best way to store hiking gear: MakeSpace
There’s one cool, dry place with zero direct sunlight where you can store your boots without taking up an inch of room in your apartment: MakeSpace. All you have to do is schedule a pickup (your first pickup is free!), pack your stuff, and leave the rest to us.
We’ll pick up your hiking gear, transport it to our secure temperature-controlled storage facility, and create an online photo catalog of your stuff. That way, you always remember what you have in storage.
Whenever you feel the mountains calling, simply log into your MakeSpace account, click the photos of the items you want back, and we’ll deliver them to you.
Once you’ve overcome all the passes and peaks you can handle, properly cleaning and storing your gear is crucial to the success of your next outdoor expedition. Keep the wilderness wild and your equipment equipped. You can never be too prepared!
Related Articles


![]()
Clutter is more than just storage.
To find out how you can declutter in your life, talk to one of our space experts. We’ll get you started with the right storage plan for you.