Getting ready for Halloween was a blast. You got to spend weeks crafting your homemade Harley Quinn costume, sticking fake ghosts to your windows, and decking out your entire apartment with creepy companions. (Steve the Skeleton is your favorite.)
But after all the candy’s been dished out and the apples have been bobbed, you’re now left with a ton of out-of-season stuff crowding the space in your home. You might have been inclined to ball all of your Halloween stuff up and throw it in a closet.
Except there’s only one problem: You still want Steve to look nice next October. Right?
That’s why we’re going to teach you how to properly clean and store your Halloween costumes, masks, and decorations. It might require a few more minutes and a lot more cornstarch, but it’ll keep your Halloween stuff looking squeaky (or spooky?) clean for next year.
Click any of the below links to jump to a specific section:
How to clean Halloween costumes and masks
How to store Halloween costumes and masks
How to clean Halloween decorations
How to store Halloween decorations
How To Clean Halloween Costumes And Masks
1. Don’t wait.
Most Halloween costumes incur some wear-and-tear over the course of your festivities. But you probably aren’t even aware of all the dirt, stains, and pumpkin guts currently clinging to your outfit.
Look over your costume as soon as you can to spot-treat any small spots. Then check the label for any instructions on how to launder your Ninja Turtle shell.
2. Check the costume’s washing instructions.
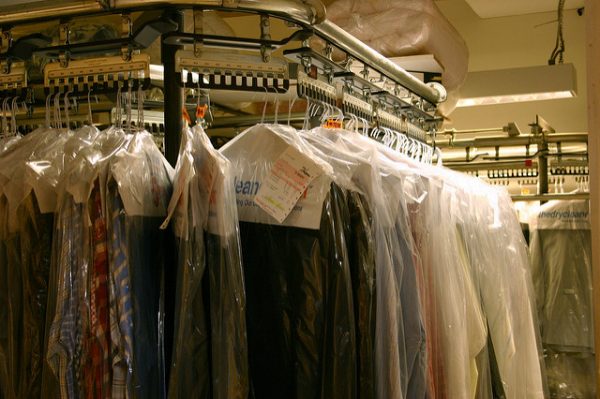
If your costume is dry-clean-only, that’s a no brainer: Drop it off at the cleaners and be sure to point out any specific problem areas to the staff before you go.
Likewise, if your ensemble is cleared for the laundry machine, this is pretty easy. Apply any Oxi-Clean or preferred treatment to stains on the clothing, load up your favorite detergent and fabric softener, and run it through a cycle.
But if your costume is a beaded or sequined affair, you’ll probably need to handwash it. As Clean Laundry advises, start by filling your sink or tub up with cold water and mixing in a small amount of (gentle!) detergent and fabric softener.
After you’ve flipped the costume inside out, knead the fabric by hand for about a minute and then rinse it all out. Make sure all the soap is washed out before you remove the outfit. Then turn it right-side out and hang it to dry.
3. Wash a wig with cold water and shampoo, and then lay the wig flat on a towel to dry.
You can’t pull off an accurate Cruella DeVille or Strawberry Shortcake without the proper wig. But at some point in the night, you probably took yours off to readjust… and accidentally placed your synthetic hair in a mess of melted Kit-Kat bars. Don’t freak out! According to Deadspin, this is an easy cleaning task.
You’re essentially going to treat your wig like it’s actual hair. Work a little shampoo into the weave with cool water and then soak it, rather than scrubbing. When it’s time to rinse, hold the wig under the tap and rotate it under the running (and still cool) water. Then carefully shake off the water as best as you can and lay the hairpiece flat on a towel to dry.
4. Wash a fur costume with cold water and shampoo, and then let it air dry.
No, we’re not talking about mink. We’re talking about the fuzzy lion, tiger, and bear (oh my!) suits you wore out trick-or-treating to stay warm. Those can also be cleaned with shampoo, but the drying technique here is a little bit different.
You’ll use shampoo and cool water again to work out any dried candy stains. Except rather than shaking your wet bear suit all over the living room, roll it up in a towel (or two) to squeeze out as much excess water as possible.
Then hang up your costume to air dry. If it looks a little matted after its shampoo scrub, aim your hairdryer on the damp suit. Just keep it on the “cool” setting. Pet brushes can also help work out the matted clumps of faux fur.
5. Clean your mask with a damp soapy washcloth, and sprinkle cornstarch on the mask’s interior to prevent the mask from sticking to itself.
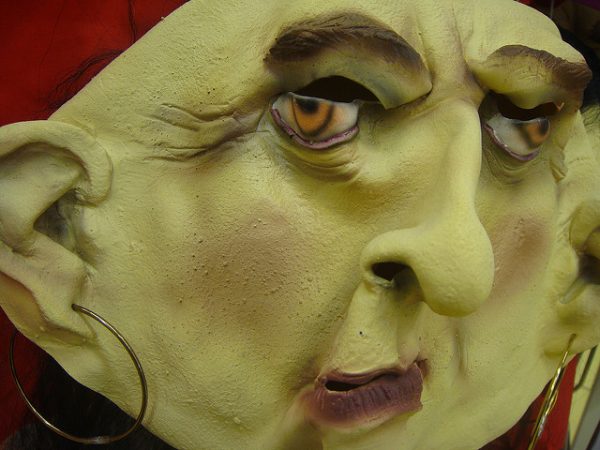
What about your Michael Myers, Joker, and witch latex masks?
You can’t exactly put those in the washer — and definitely not in the dryer — but luckily, eHow has the answers.
The first thing you’ll need is a clean washcloth. Dampen it with warm water and then add two drops of hand soap to the cloth.
Run the cloth over the front and back of the mask, paying special attention to eye and mouth openings. (That’s where your sweat, saliva, and runny make-up is most likely to collect.)
Next, dampen a second clean washcloth with nothing but warm water. Now wipe the entire mask again with that cloth to rid the surface of lingering suds.
Grab a clean, dry hand towel to blot out the wet mask. Once that’s done, sprinkle some cornstarch over the mask’s interior so it doesn’t stick to itself.
Finally, if the mask has hair attached, use a stiff bristle brush on it to remove clumped dirt or just knots.
How To Store Halloween Costumes And Masks
1. Make sure your costume and mask are completely dry.
Hopefully, you already cleaned your costume. If not, do that first.
Now before you prep your outfit for storage, make sure it’s lost any lingering moisture.
Here’s why:
Damp costumes are bound to breed mold and other unsavory stuff. You don’t want to make this discovery two days before Halloween, when you pull out your Batsuit for another round of parties.
2. Upcycle your curtain and bedsheet bags.
We’re not talking about Tupperware here. Think of the zipped plastic bags that your curtains or bedsheets come in.
As YouTube personality Average Jane demonstrates in the video above, those bags are perfect for storing masks and potentially entire costumes. Check that the bags are free of any dust or grime before you fold your Jigsaw get-up into the bag.
3. Stuff a hat with bubble wrap or newspaper to maintain its shape while in storage.
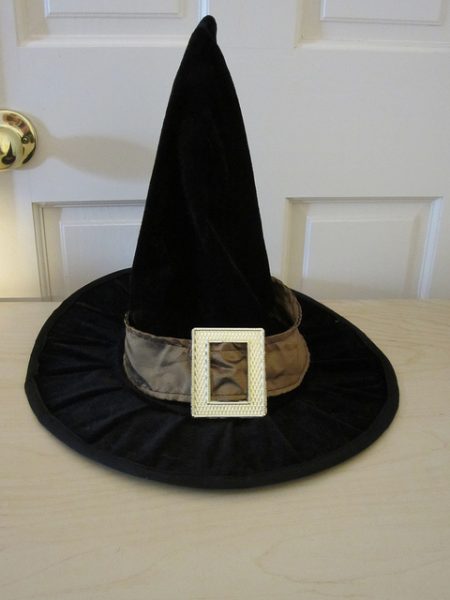
Witch hats are bound to crumple without the proper maintenance. So listen to Moving Insider and remember to shove some bubble wrap or old newspaper into your Halloween hats to maintain shape.
While you’re at it, you might also want to consider a head-shaped piece of Styrofoam for your masks.
4. Store your costume in a garment bag, or in a box with tissue paper separating each item.
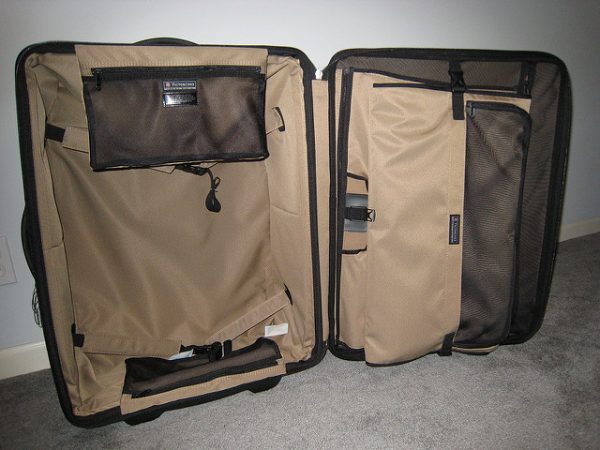
Keeping your costume in a garment bag will give it an added layer of protection in your closet, as long as you make sure not to bundle up too many costumes into one bag. That’ll place a serious strain on the fabric, ultimately defeating the whole purpose of the garment bag.
Prefer to fold your outfits and store them inside boxes?
Be sure to separate each item of clothing with some carefully wrapped tissue paper. It’ll help prevent wrinkles, and give your costume one more level of defense from the elements.
5. Seal up your Halloween makeup and fake blood.
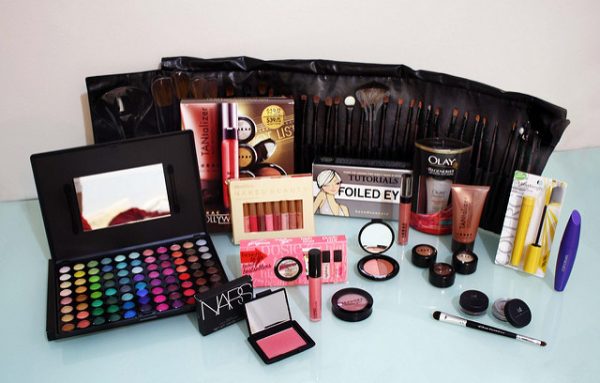
Some costumes require an arsenal of face paint, makeup, fake blood, hairspray, and other beauty products. Take an extra minute to make sure the caps and lids on each of those items are firmly secured before you stash them away.
If there’s no room for them in your medicine cabinet, try storing them in these amazing beauty storage and makeup organizing ideas.
Remember: All it takes is a small leak from the tube of fake blood to turn your drawer into a gory horror scene.
How To Clean Halloween Decorations
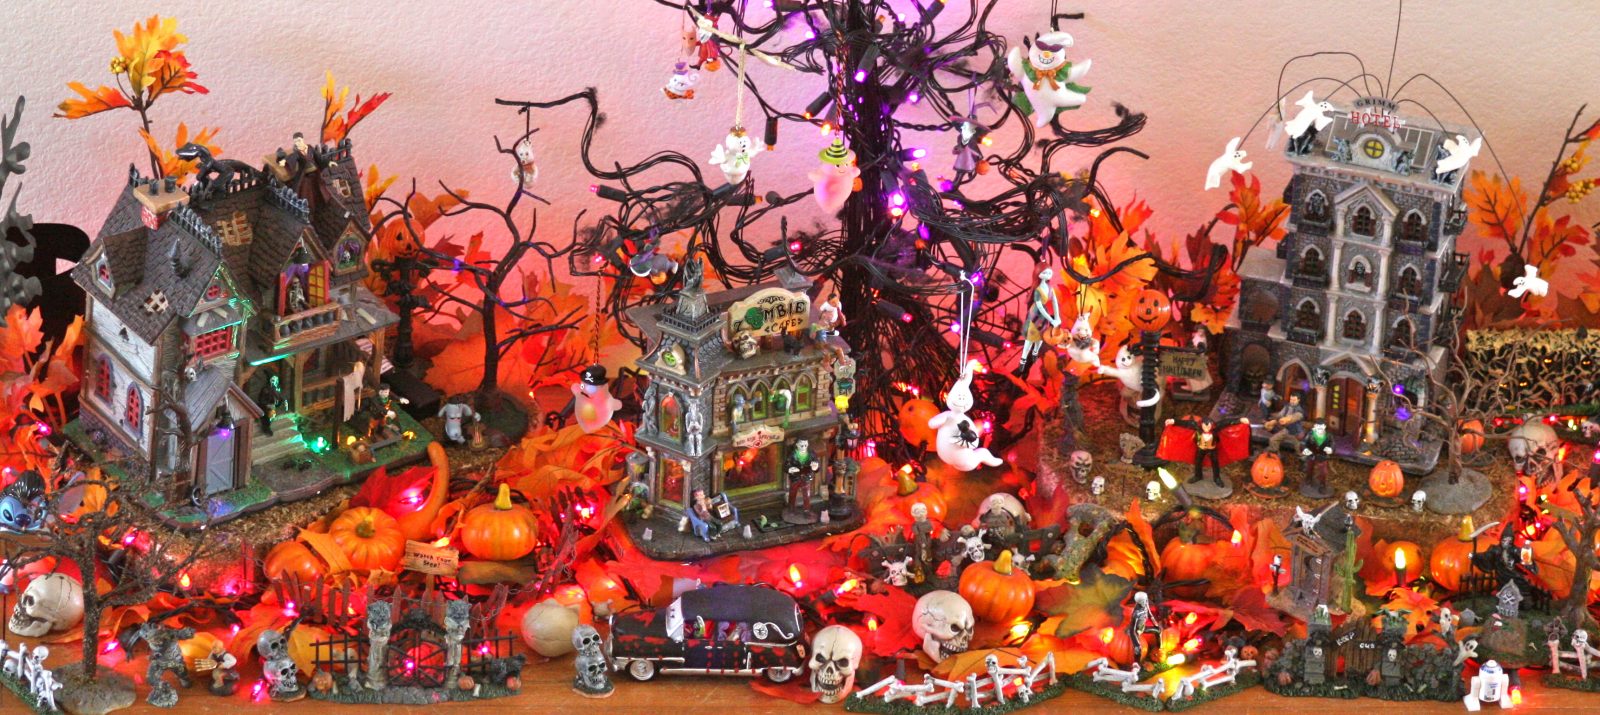
1. Wipe dust off of your decorations and ornaments.
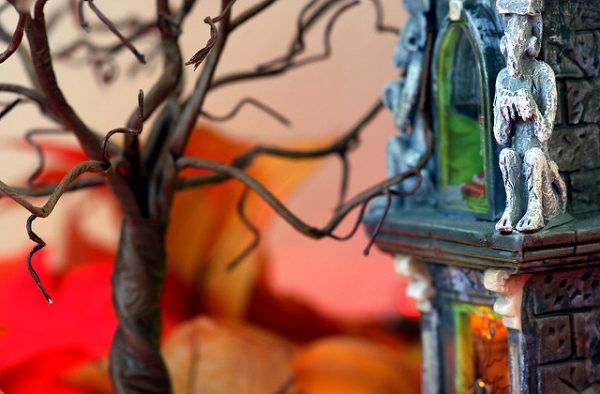
Cobwebs may be trendy during Halloween, but you shouldn’t let real ones linger on your seasonal decorations.
Whether you have a set of orange paper lanterns hanging from your ceiling or a collection of mini haunted houses on your mantel, use a clean hand towel on each of them to rid your ornaments of soot, dust, and grime.
Depending on what you display each year, you might’ve doused your decorations in hot sauce or vinegar to deter hungry pests and critters. Make sure to wipe that all off, too — only you should use a damp cloth for that, so your gourds don’t smell like old Sriracha next year.
2. Spot-treat your skeleton, witch, and scarecrow’s clothes for stains.
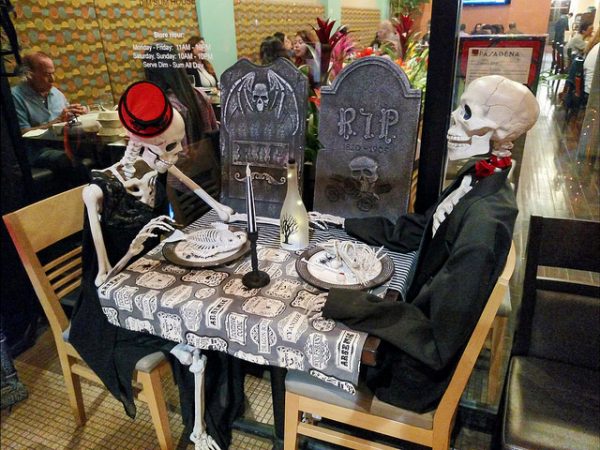
Have a prop skeleton, witch, scarecrow, or other spooky specter hanging out on your front porch?
You probably can’t throw their outfits in the washing machine, but you can spot-treat them for obvious stains. After you’ve brushed any dirt off them, give their cloaks and flannels a glance for problem spots.
Not sure if you need ammonia, dish soap, or a Tide-to-Go stick?
Consult this ultimate stain removal chart from Real Simple for some real answers.
3. Power wash and mend your inflatable Halloween decorations.
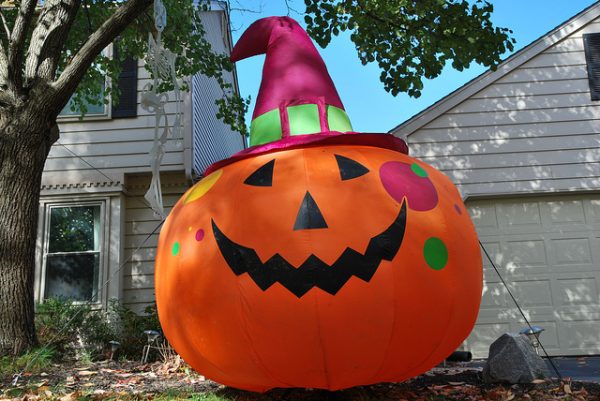
You might have an inflatable ghost haunting your yard. When it’s time to power him down, be sure to give Casper a good clean. The pros recommend power washing your holiday inflatables.
After you’ve hosed everything down, check for any new tears. You can patch them up with a simple needle and thread.
How To Store Halloween Decorations
1. Label and color-code everything.
What’s the best way to ensure you won’t mix your goblins up with your Santas?
Clearly mark and designate your Halloween stuff.
Lauren Mang of Let Me Organize It recommends that you get a plastic bin for your haunted holiday decor and create distinct labels for it, or buy a bright orange bin to associate it firmly with All Hallows’ Eve.
She’s serious about using only one bin to store your Halloween decorations: any more and you’re likely to overload your closet.
Don’t have a closet?
No problem. Here’s how to live without a closet.
2. Itemize your Halloween decorations.
Over on Ask Anna, the titular Anna Moseley suggests you make a list of every single item you’re going to store in your plastic storage bin. This may seem like an aggressive organization move, but it’ll come in handy a year from now when you can’t remember where you put that dang skeleton.
Quickly jot down all your ghoulish decorations as you line them up for storage. Then, after you’ve put them all in the tub, place the itemized list on top and close the bin.
3. Stock up on plastic bags and bubble wrap.
Ask Anna further recommends you put any item with paper or fabric in a resealable plastic bag. That’s to give it some extra protection from pests and moisture in the air.
For anything remotely fragile (think creepy dolls or glass jars), pad the item in bubble wrap to act as a buffer between the item and the rest of your Halloween accouterments.
4. Break out the tackle box.
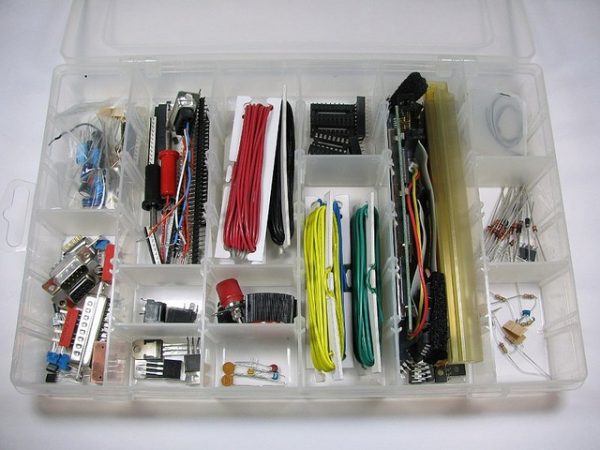
There’s fragile, and then there’s meticulously-detailed-mini-Whomping-Willow fragile. Your truly tiny tchotchkes and odd-ends probably shouldn’t go in the big bin. Store them in a tackle box instead.
The tackle box will keep your extremely fragile items safe and separate from your bigger items. Just make a note on your itemized list so you don’t forget where you stashed them.
5. Keep candles in the dark
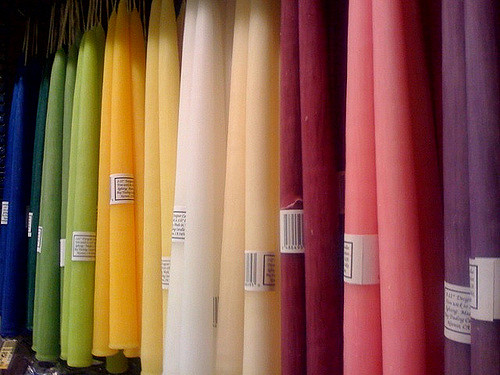
Maybe you have a large collection of candles to make your living room look like a witch coven. Those wax stubs might melt or warp in a sealed plastic container.
To preserve the colors and shapes of the candles, store them in a cool, dry, and dark environment. Also, as Easy Home Organizing notes, you should place tapered candles on their sides.
A garage or attic definitely doesn’t fit the bill, and even your kitchen cabinet might be too hot. Slot the candles into a box and store them in a shady drawer or on a shelf.
6. Coil your string lights around a hanger or aluminum can
We showed you 10 ridiculously easy ways to store holiday decorations, including Christmas lights. The same DIY storage idea applies to storing your orange-and-black string lights.
When it’s time to take the lights down, carefully wrap them around a piece of cardboard, an old hanger, or even a Pringles can. Doing so will keep your lights nice and tangle-free for next year’s Halloween party.
7. Or give those skeletons in your closet to MakeSpace
Got a bag of fake bones still sitting in your chair? Or a bunch of ghoulish lanterns still scaring your neighbors?
Just because Halloween is over doesn’t mean you have to sacrifice your Halloween spirit for the sake of storage. Instead of ditching your decorations, or something else in your home, to make room, let MakeSpace store your scary stuff.
All you have to do is schedule a pickup, and we’ll come get your things. Once we have all your fake pumpkins — or furniture and spare clothes — we’ll transport everything to our secure, temperature-controlled storage facility.
We’ll even create an online photo catalog of your stuff so you never forget what you have in storage.
And like all good ghost stories, there’s a twist:
When you want something back from storage, you don’t have to dig through an endless sea of boxes in a sketchy, scary, and over-priced self-storage unit that’s buried off of a highly-trafficked highway. Simply log into your MakeSpace account, select the item’s photo, and we’ll deliver it to you.
You know, just in case you miss being Michelangelo and don’t want to wait until October 31, 2017.
Top image via Flickr/Kevin Dooley
Related Articles


![]()
Clutter is more than just storage.
To find out how you can declutter your life, talk to one of our space experts. We’ll get you started with the right storage plan for you.