Tiny homes and apartments often have a front door that opens directly into the living room or dining room, so there’s no distinct foyer. Although that isn’t usually a deal breaker when buying your first home or renting, it is nice to have a designated entryway.
One solution is to build a dividing wall, but unless you’re using EverBlocks, that means bringing out the power tools and running to the home improvement store for wood and sheetrock.
An easier way is to “build” a different kind of room divider. By “build,” I mean set up a screen to separate the living room from the front door.
An advantage of using a room divider or screen is its portability. If or when you move, it goes with you. But the best part is you can find or create one to fit your home’s exact style. If you’re the creative, do-it-yourself type, the possibilities are endless.
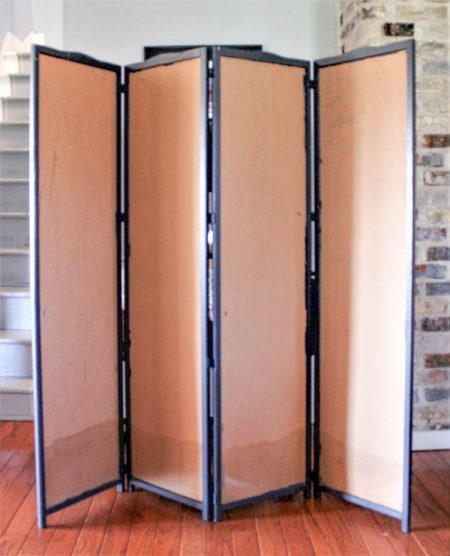
I happened to have a four-part screen with framed-in wood and cardboard inserts. It has two-way hinges that allow it to fold in a variety of flexible stand positions.
As an interior designer, I’m always looking for ways to add personality to a client’s home. For first-time homeowners or young professionals renting their first “grown-up” apartment, the design budget is usually limited. However, a limited budget doesn’t mean you can’t turn your home into a space that reflects your style.
To the surprise of many people, I recommend wallpaper. Not only is it making a comeback, but you can use it in more ways than just on the wall. Wallpaper is available in so many patterns and prints, from traditional to abstract, with a rainbow of color options. If you don’t find a paper you absolutely love, you aren’t trying hard enough!
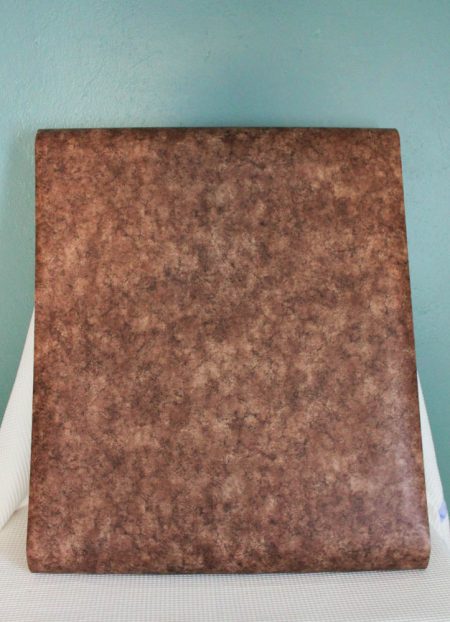
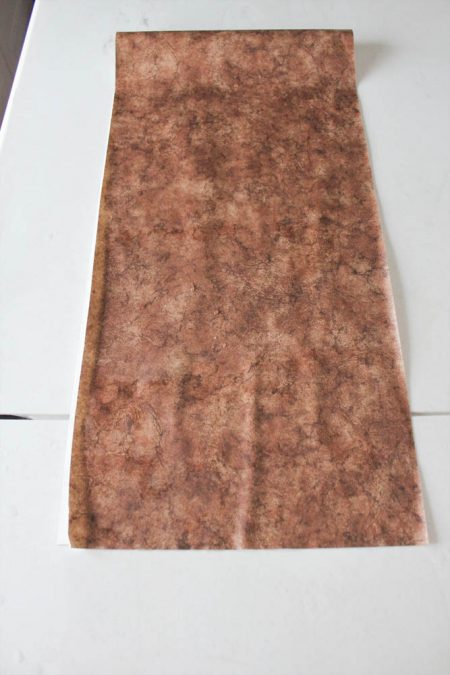
For this room divider, I decided on warm, brown tones, since neutral colors tend to be more versatile. I found a mottled brown wallpaper that resembles natural stone. The depths of colors give it a rich texture.
Although I love stripes and plaids, I suggest avoiding patterns with vertical or horizontal lines for a multi-section divider. You’ll have to be perfect when trying to match up straight lines, so it’s much easier to forgo them altogether.
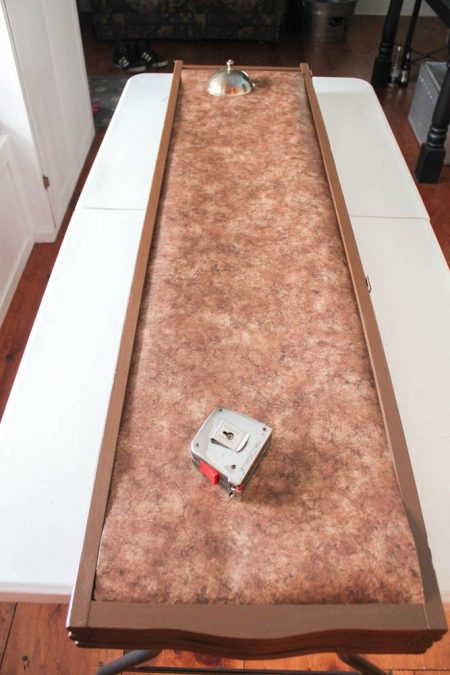
First, I painted the wood frame with a semi-gloss latex paint in a matching shade of brown before setting up my wallpaper. A portable folding table is the perfect work surface when working with wallpaper in any installation.

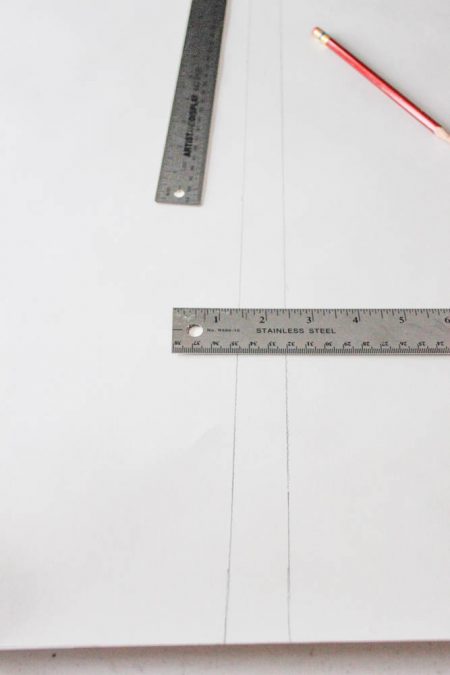
Since my screen sections are just shy of 13 inches wide by 55 ¾ inches long, I chose a 27-inch-wide wallpaper so I could get two widths out of each length. Using a straight-edge ruler and an X-ACTO knife, I measured and cut each piece.
Before attaching the paper to the screen, I laid out each piece to make sure they fit.
For this project, prepasted wallpaper was the way to go. I also made sure I didn’t pick a really heavy vinyl paper. Following the manufacturer’s directions, I submerged the rolled piece in lukewarm water for 15 to 20 seconds.

Next, lift the paper out of the water, allowing the excess to run off. Then lay the paper on the table, right side down, and “book” it — meaning fold the paper in half with the back sides together to let the paste activate. Make sure you do not crease the fold.
Then lay the paper on the screen section, and gently smooth out any air bubbles with a wallpaper brush. Use a metal paint edger and razor knife to trim away excess paper for a nice clean edge.
Repeat the process with each section, front and back sides, and just like that, you have a beautiful new foyer.
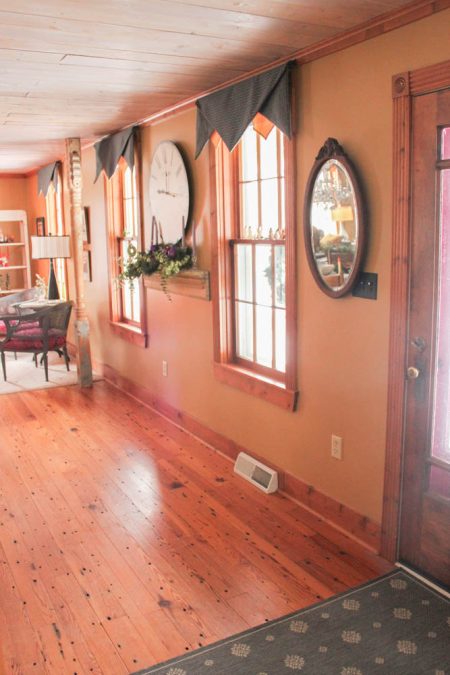
My entryway before I built and added a custom room divider:
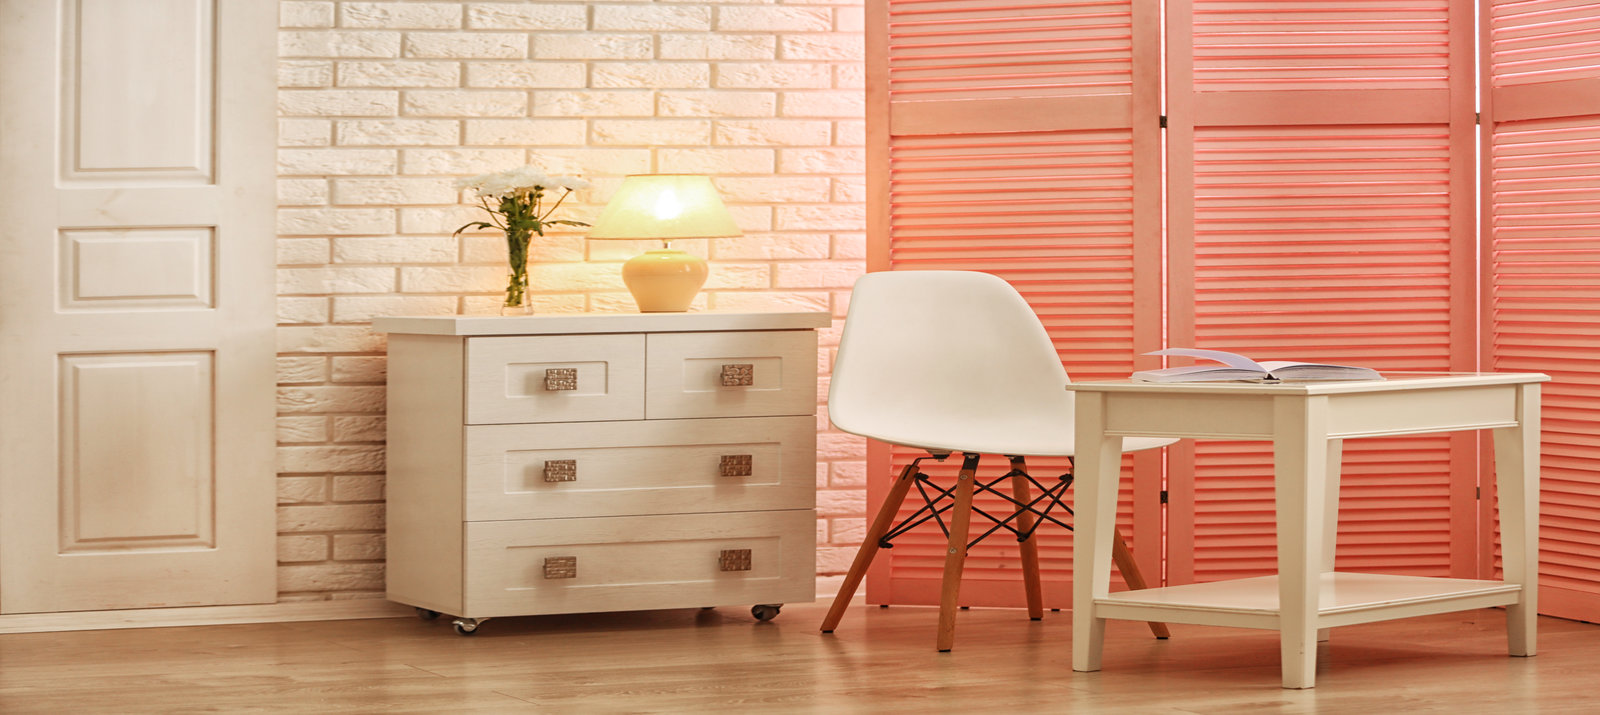
My entryway after I built and added a custom room divider:
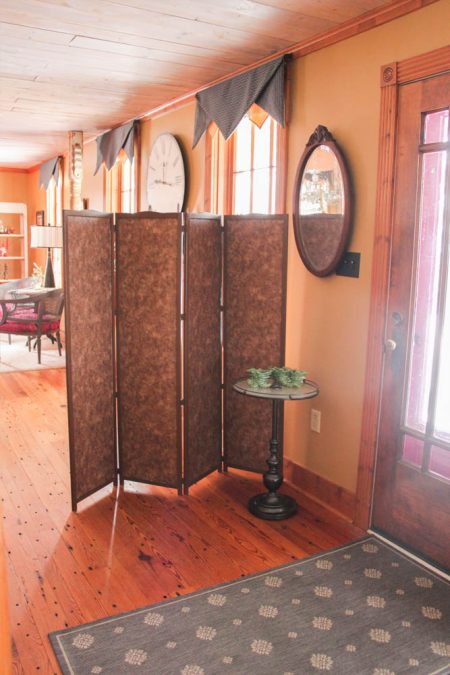
As you can see, a screen divider instantly transforms one space into two. A hinged screen can be positioned and repositioned depending on your needs and how much space you have. You could also use a coordinating paper on the opposite side so that the foyer would get one look and the living room another.
Choose a paper that suits your personality. If you’re not a neutral person, go bright and bold — there are no rules except to pick a wallpaper you love. Your guests will be wowed when they visit and find out you made this screen yourself.
This article was written by Merri Cvetan, an interior designer who writes for The Home Depot about creating beautiful spaces through crafty DIYs. She provides tips on topics from designing a beautiful master bedroom to creating a foyer when you don’t have one. Visit The Home Depot to see a selection of home decor products you can use to create your own foyer.
Related Articles


![]()
Clutter is more than just storage.
To find out how you can declutter in your life, talk to one of our space experts. We’ll get you started with the right storage plan for you.