Suction cups are the best-kept secret when it comes to organizing in tight spaces. It takes only a few seconds to put them up and once they’re up, you can truly maximize your wall space.
But there’s a catch–they don’t always stay put. While suction cups can create additional storage options for you, it’s not worth the effort if they’re always falling.
If you’re tired of losing the battle with your suction cups, let us help you win with some easy advice.
How Do Suction Cups Work and How Do They Stick?
Before diving into the tips, it’s important to understand how suction cups work. Suction cups adhere to surfaces through the creation of a vacuum. When you press a suction cup against a surface, you expel the air from underneath it.
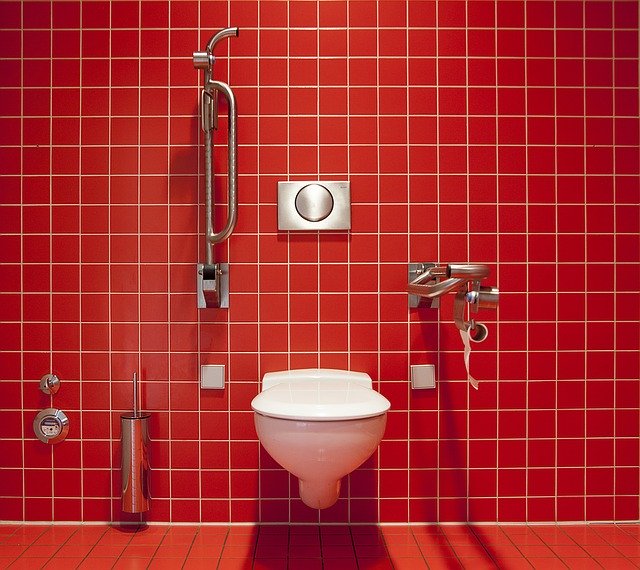
Source: Pixabay
The air pressure outside the cup becomes higher than the pressure inside, pressing the cup against the surface and holding it in place. The strength of the seal depends on several factors, including the surface texture, cleanliness, and the condition of the suction cup.
How to Make Suction Cups Stick
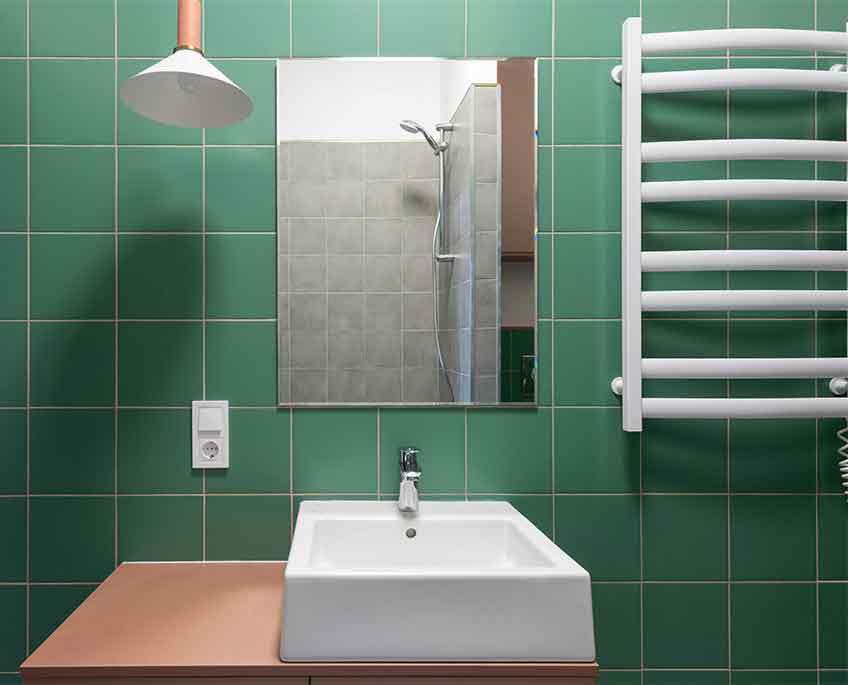
Source: Pixabay
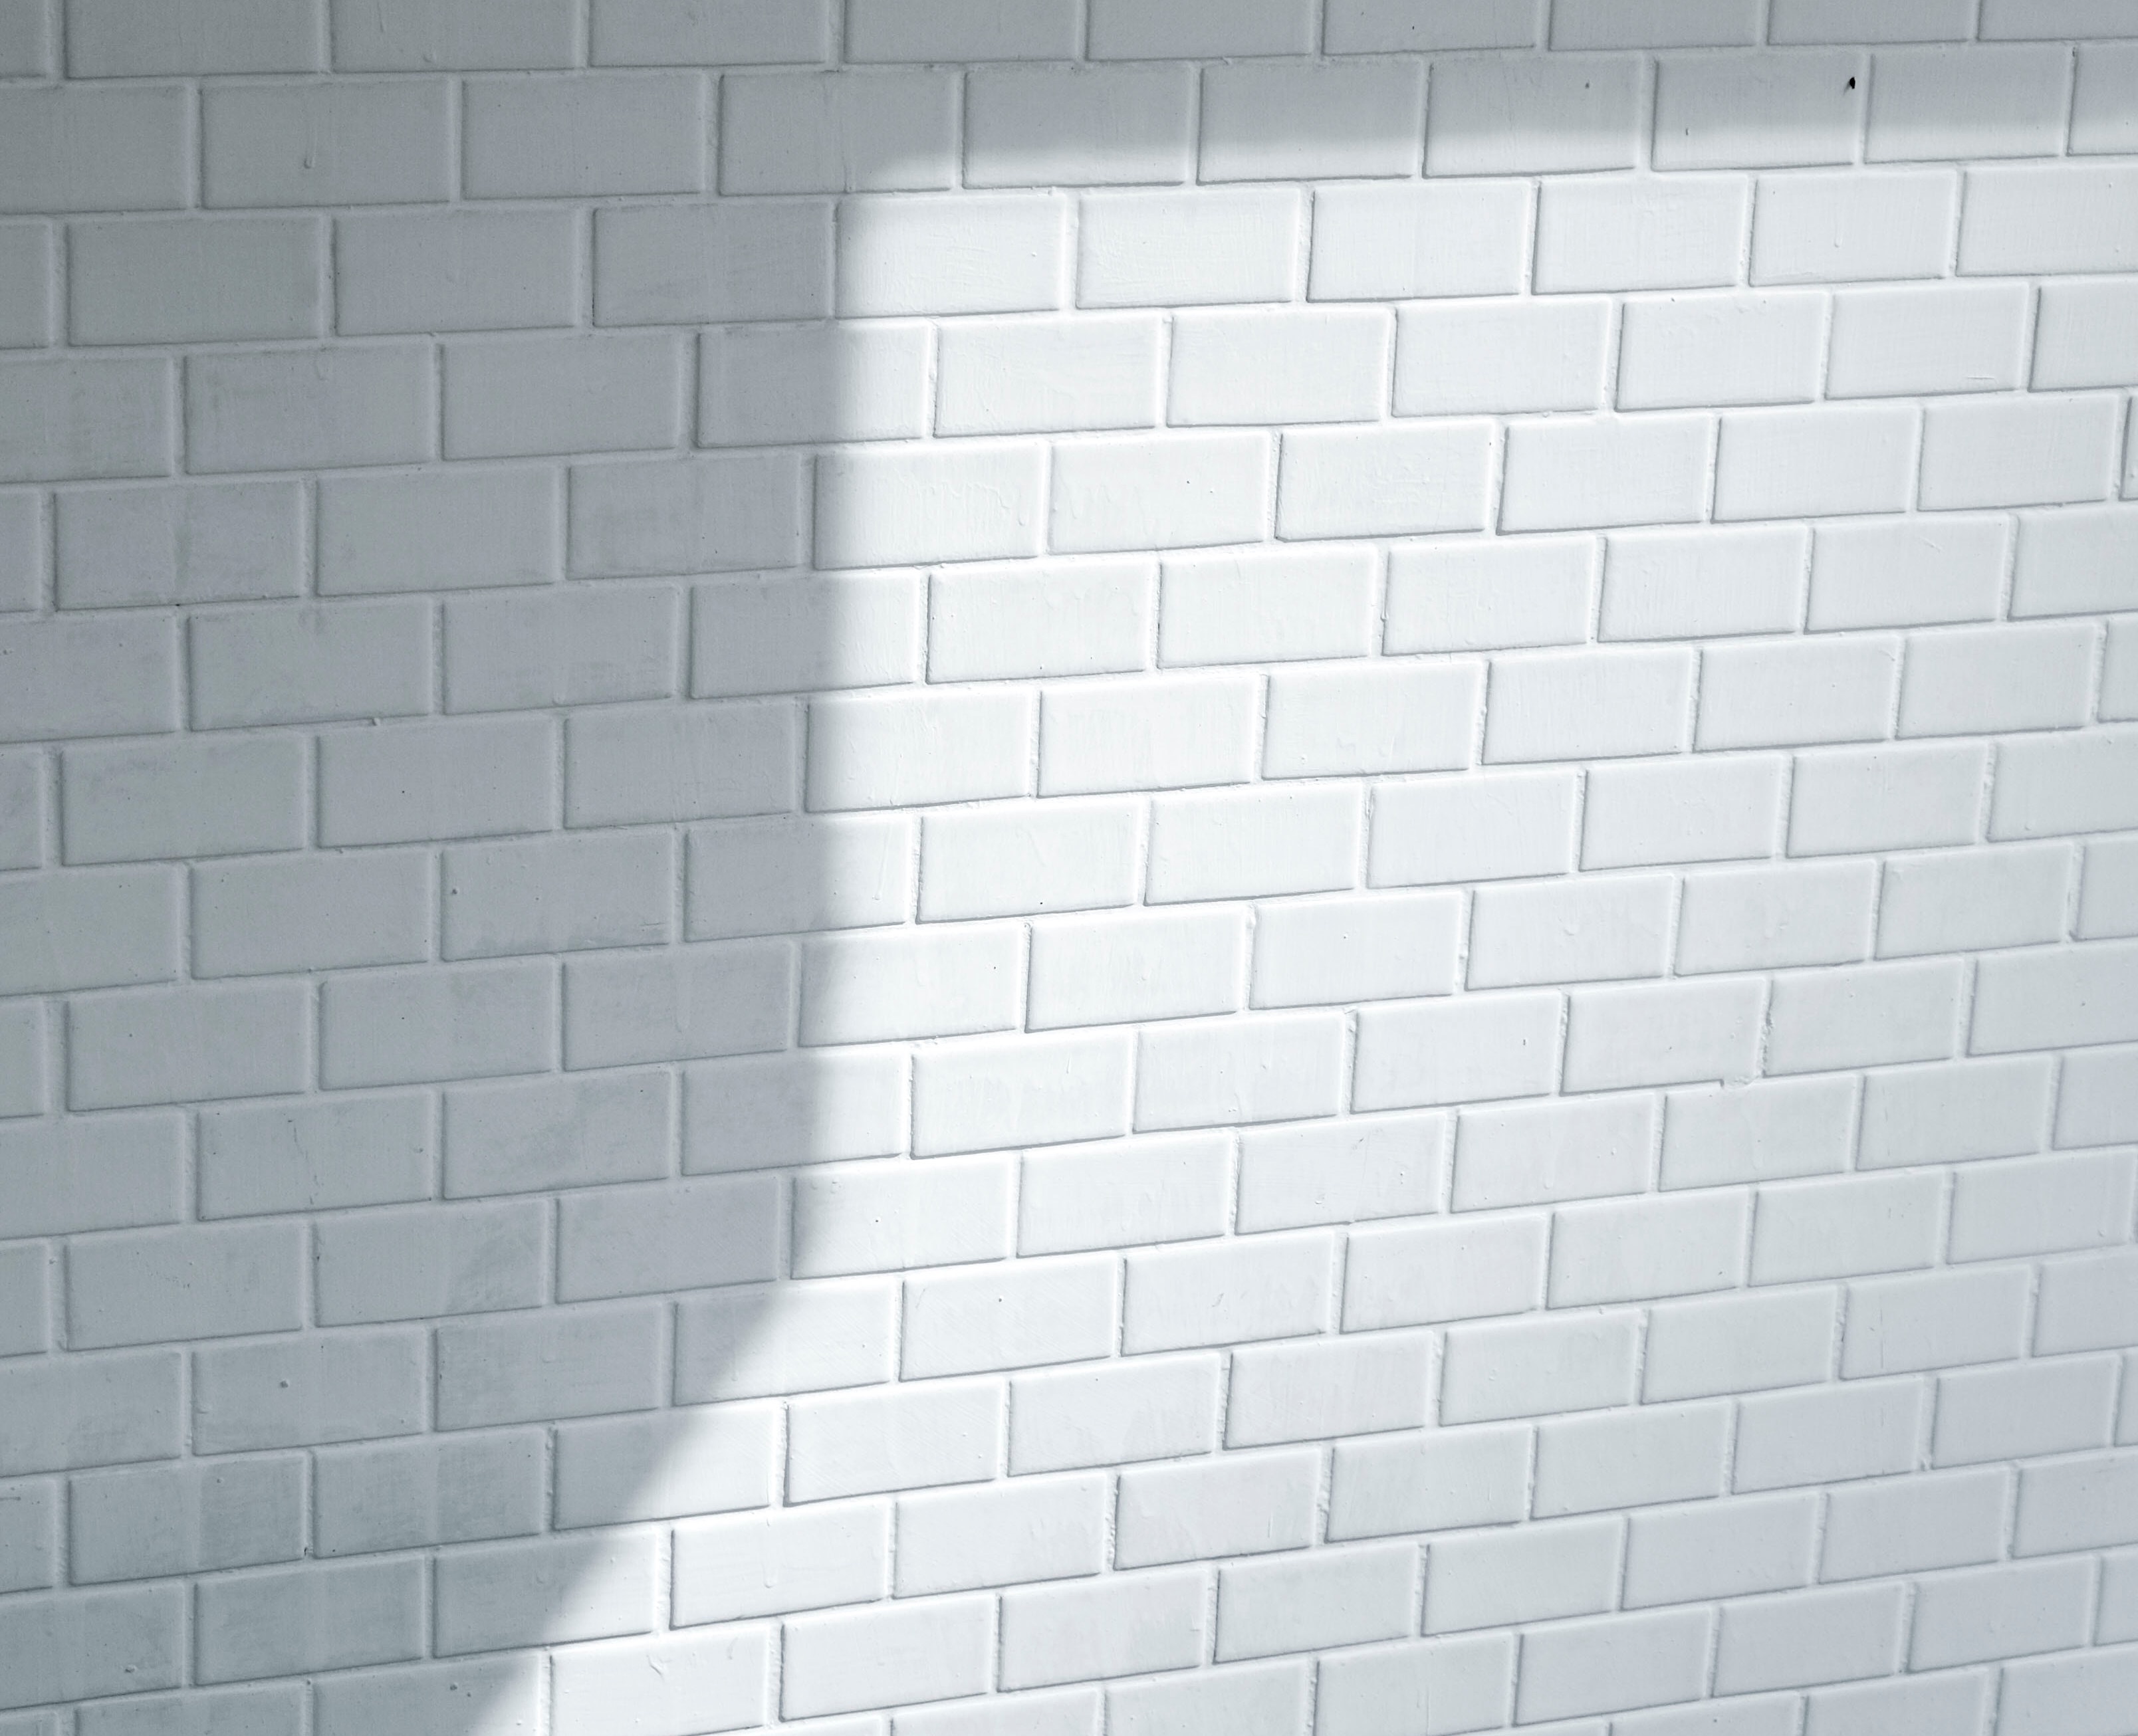
1. Make Sure You’re Choosing the Right Surface
Some surfaces don’t work well for suction cups. Start with a clean surface, and make sure it’s completely smooth — not rough or textured. Even a little bit of texture can be a deal-breaker.
If you’re counting on a suction cup to stick to a rough plaster wall, you’re setting yourself up for disappointment. It won’t be able to create a tight enough vacuum to seal out the air.
2. Give Everything a Good Cleaning
You may solve your problem with this easy step. However, if it still doesn’t have the suction you believe it should, take your cleaning to the next level.
Use some white vinegar–or rubbing alcohol to wipe down the wall and the suction cup. That will take care of any greasy or slimy film you can’t see but that might be hurting the suction.
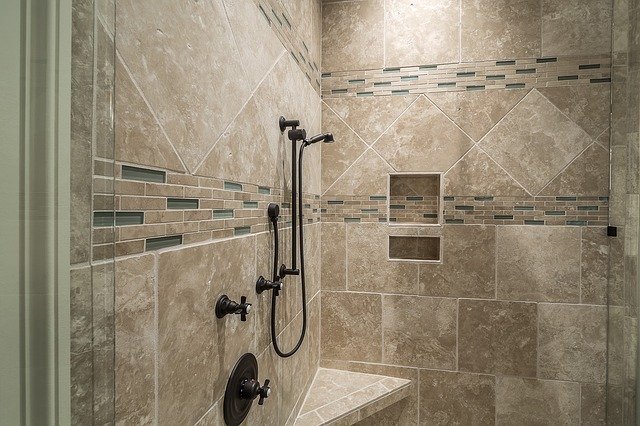
If you’re going to hang the cup in a shower, vinegar will be just fine, but if you’re working on a painted wall, you might want to test the vinegar in a small area to make sure it doesn’t impact the paint.
3. Use Some Water
A little bit of water can do wonders for boosting a suction cup’s grip. Using warm water, rinse the whole cup so it softens it up.
Shake the drops of water off the cup quickly and then put it up on the wall. That can often do the trick.
4. Watch the Temperature
If you’re putting up a suction cup on your car window to attach a GPS unit or something else, don’t do it in cold temperatures. This can hinder the cup’s flexibility. You won’t get as good of a latch as you will in warmer weather.
Wait for the temperature to reach at least 40 degrees Fahrenheit. If you must put it up in colder weather, run the defrost on the hottest setting to make sure your window is a bit warmer. And keep the suction cup as warm as possible until you put it up.
5. Be Realistic
Avoid hanging up anything breakable with a suction cup. And, if you’re trying to use it to hold up something fairly heavy, it might not work.
For heavier items, you may want to use 3M Command strips or a similar easy-to-apply strip or stick with nails, screws, or anchors.
Now that you’ve earned your master’s in suction cup-o-logy, check out these options worth sticking with Colorful & Heavy Duty, Durable Designs, Powerful & Lightweight.
6. Ensure Complete Contact
To achieve a strong and lasting bond with a suction cup, ensure complete contact between the suction cup and the surface.
- Preparation: Clean both the suction cup and the surface thoroughly with soap and water to remove dirt, dust, and grease.
- Dry Completely: Dry both the surface and the suction cup completely, as water droplets can interfere with the vacuum seal.
- Press Firmly and Evenly: Press the suction cup firmly and evenly against the surface, expelling as much air as possible. Any trapped air can weaken the vacuum seal, leading to a weak hold.
7. Use a Small Dab of Oil
Using a tiny amount of oil or petroleum jelly can enhance the suction cup’s seal. Start by cleaning and drying both the suction cup and the surface thoroughly. Then, dab a small amount of oil or petroleum jelly onto your fingertip and apply a thin layer around the rim of the suction cup.
This helps fill in any microscopic gaps, creating a tighter seal. Finally, press the suction cup firmly and evenly onto the surface. The oil helps create a more robust vacuum, ensuring a stronger, longer-lasting hold.
8. Replace Worn Suction Cups
Ah, the inevitable moment when your trusty suction cup decides to give up on life. Despite your best efforts—cleaning, oiling, pressing like you’re performing CPR—it keeps falling off. Newsflash: suction cups aren’t immortal.
Over time, they lose their flexibility and strength, becoming as useful as a chocolate teapot. If your suction cup keeps plummeting to its doom, it’s probably trying to tell you something: “Replace me already!” So, stop trying to resuscitate that old, worn-out piece of rubber and invest in a new one.
Trust me, your sanity will thank you.
Tools and Equipment Needed to Make a Suction Cup Stick
- Soap and water
- Clean cloth or paper towel
- Water or petroleum jelly
- Double-sided tape or glue (optional)
- Replacement suction cups
How Often to Replace Suction Cups
Suction cups can degrade over time, losing their elasticity and ability to maintain a vacuum seal. It’s a good idea to inspect your suction cups regularly and replace them if they start to show signs of wear or if they no longer stick as well as they used to. Typically, suction cups should be replaced every six to twelve months, depending on usage and exposure to environmental factors like temperature and humidity.
Frequently Asked Questions About Suction Cups
Suction cups are versatile tools, but they can sometimes be tricky to use effectively. Here are answers to some common questions to help you get the most out of your suction cups.
Q: Why do suction cups lose their grip over time?
Suction cups lose grip due to air seeping in under the cup, weakening the vacuum seal. This can be caused by changes in temperature, surface conditions, or wear and tear.
Q: What is the best surface for suction cups to adhere to?
Smooth, non-porous surfaces like glass, metal, and glossy tiles are ideal for suction cups as they provide a better seal and reduce air leakage.
Q: How can I prepare the surface to improve suction cup adhesion?
Clean the surface thoroughly with a non-oily cleaner to remove dirt and residue. Ensure the surface is completely dry before applying the suction cup for optimal adhesion.
Q: Should the suction cup itself be cleaned before use?
Yes, clean the suction cup with warm, soapy water, and dry it thoroughly. This removes any dust or oils that could interfere with the vacuum seal.
Q: How can temperature affect the suction cup’s performance?
Extreme temperatures can cause the suction cup to expand or contract, weakening the seal. Use suction cups in moderate temperatures to maintain a strong grip.